
Multi Panel Wall Art for Living Room: Design Tips & Ideas
Key Takeaways
- Multi panel wall art for living room looks best when the total width is about two thirds of your sofa, hung 6–8 inches above, with 1.5–2 inch gaps between panels;
- Triptychs, 4‑piece grids, and 5‑piece staggered layouts create modern balance and scale across large wall spaces;
- Keep a consistent palette and framing, for example black or white frames, so colors and style feel cohesive with your room;
- Mixtiles lets you design, print, and hang multi panel walls with peel‑and‑stick frames that are ready to hang, repositionable, and gentle on walls.
Multi panel wall art for living room is a fast way to turn a blank wall into a focal point. Whether you love a panoramic triptych, a tidy 4‑piece grid, or a bold 5‑piece split canvas look, the right size and spacing will elevate your space. This guide covers sofa‑based sizing, layout ideas, image and color selection, plus stress‑free installation. With Mixtiles adhesive and magnetic options, you get canvas‑style impact without nails, so you can experiment, save time, and save your walls.
Ready to design your living room wall? Start building your custom photo tiles or explore our collection of wall arts to create your multi panel masterpiece in minutes.
What is multi panel wall art for living room, and why is it trending?
Multi panel wall art divides one visual story into two or more coordinated pieces. It adds movement, depth, and scale to a living room or dining room, and it is easier to fit than a single oversized canvas print. You can split one photo into a triptych, arrange multiple photo prints in a grid, or curate abstract wall art and framed prints for a polished, modern photo gallery wall. The result feels custom and high impact, yet it is simple to plan and install with Mixtiles.
How big should your multi panel wall art be above the sofa?
Start with the sofa. A reliable rule is to make the total width of your art about two thirds of the sofa width. Keep the center of the composition near eye level, usually 56–60 inches from the floor, and leave a comfortable 6–8 inches above the sofa back. Maintain even spacing so the split panels read as one cohesive piece. For a deeper dive into proportions across different rooms, see our guide on how big should art be on a wall.
Quick sizing rules that always work
Aim for 2/3 the sofa width for total art width. Center the layout at eye level, and leave a small gap above the furniture to breathe. Mixtiles makes scale easy with small, medium, and large tile sizes, plus custom canvas prints for a gallery look. Not sure where eye level should fall in your home? This walkthrough on how high to hang art on a wall explains it clearly.
Ideal spacing between panels
Keep 1.5–2 inches between panels. This narrow, even gap preserves the visual connection across a split canvas or multi panel canvas and feels crisp on modern walls. Mixtiles frames are lightweight, so fine‑tuning spacing is easy.
Common living room scenarios
For a loveseat, try a medium triptych or a 2×2 grid. For a standard three‑seat sofa, consider a large triptych, a 4–5 piece wall, or a 2‑row gallery of 6–8 tiles. For long sectionals or a large wall, expand to 9–12 tiles or a dramatic 5‑piece staggered panel wall art. For styling ideas tailored to the space above your seating, explore our above couch wall decor guide.
Sofa-to-Art Sizing Guide
|
Sofa Width |
Target Art Width |
Common Mixtiles Layouts |
|---|---|---|
|
60–70 in, 152–178 cm |
40–47 in, 102–119 cm |
3‑piece triptych of 12x12 canvas prints, or 2×2 grid of 8–12 in tiles |
|
78–90 in, 198–229 cm |
52–60 in, 132–152 cm |
Large triptych, 4‑piece split, or 2×3 gallery |
|
96–120 in, 244–305 cm |
64–80 in, 163–203 cm |
5‑piece staggered, panoramic split canvas, or 3×3 gallery |
Which multi panel layouts work best in living rooms?
Choose a layout that matches your wall proportions. Wide walls love panoramic triptychs or 5‑piece sets. Taller walls suit 4‑piece grids or two‑row galleries. Mixtiles Gallery Wall Kits include templates, so your panel wall aligns perfectly the first time.
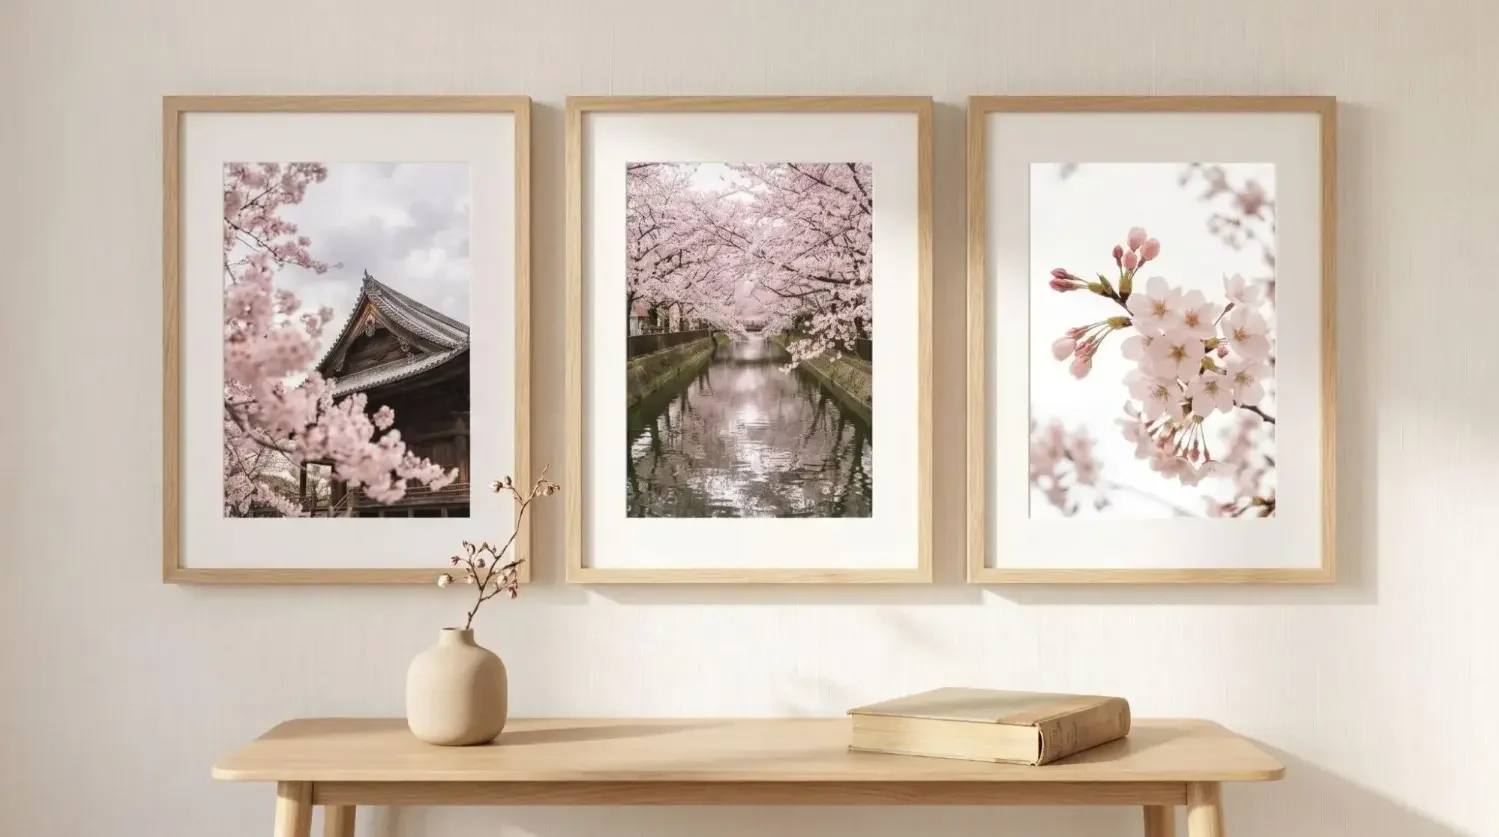
Triptych (3‑piece)

Clean and modern, a triptych works beautifully above most sofas and consoles. It is ideal for landscapes, cityscapes, or abstract wall compositions that read as one split canvas art.
4‑piece grid

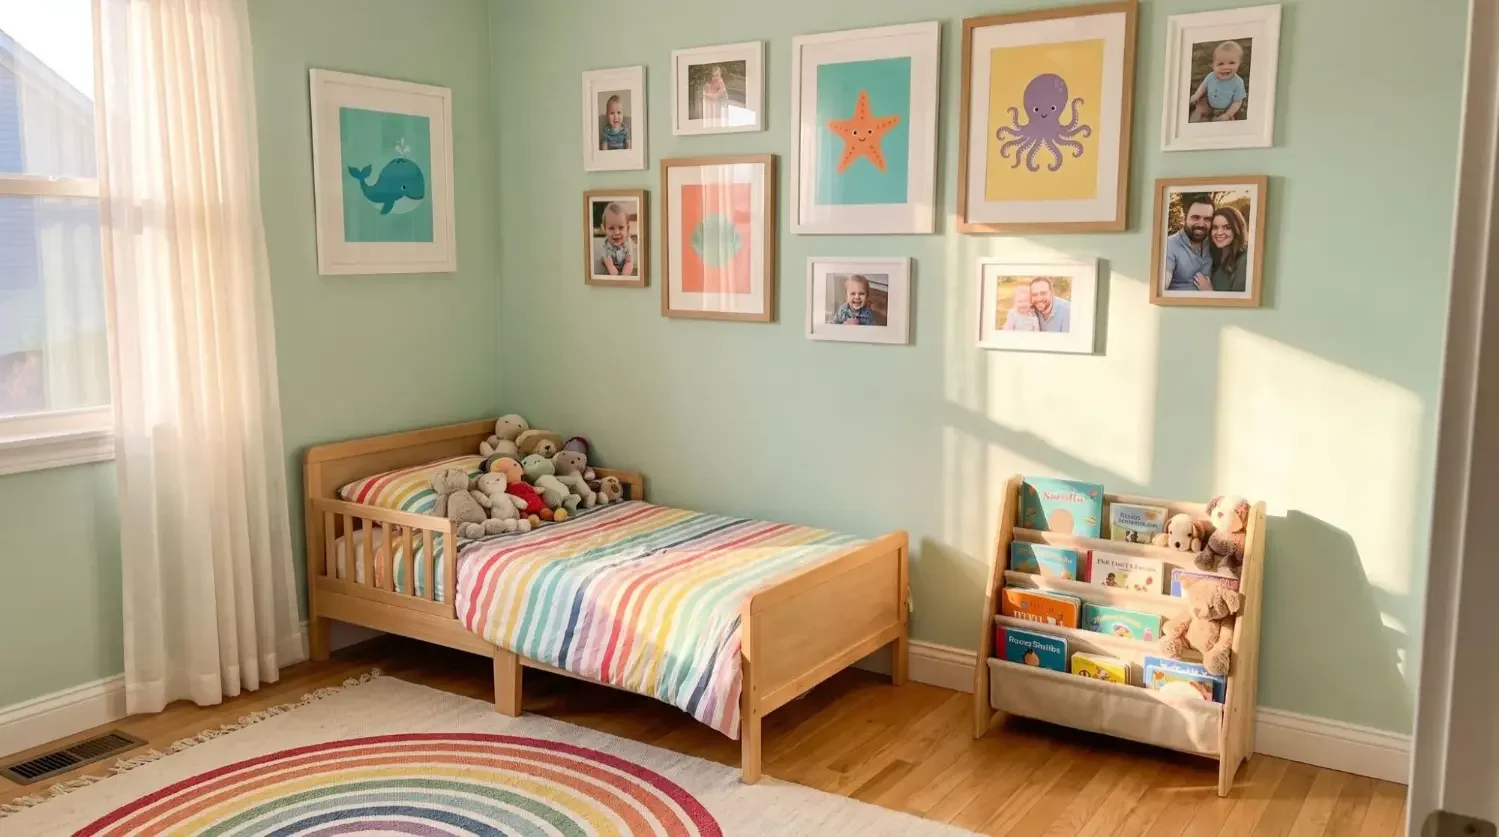
A balanced, versatile choice for square or slightly wide walls. It is perfect for family moments or travel art prints with consistent colors and white or black frames.
5‑piece staggered set

Dynamic and contemporary. Make the center panel tallest, then step down on each side to add movement. Works well for abstract wall art or bold canvas art prints.
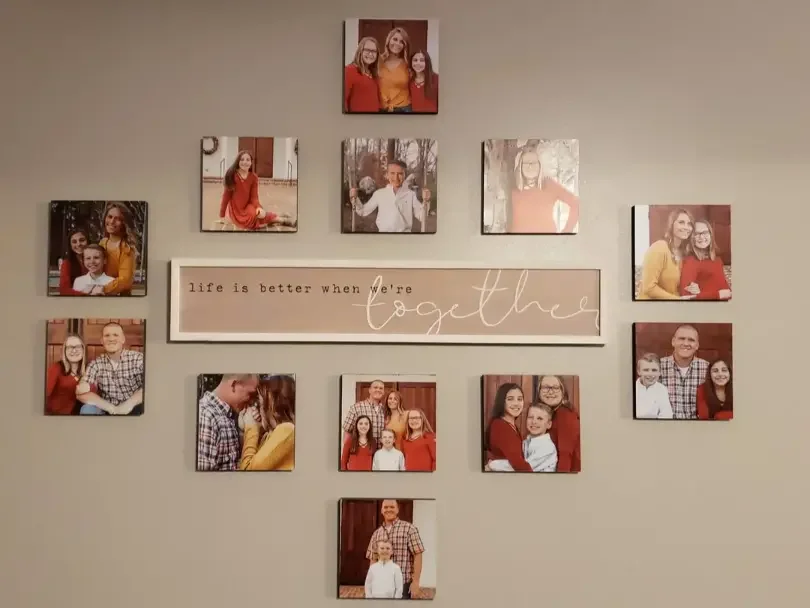
Large gallery wall

Go multi panel wall with 9 or more tiles for a curated look. Keep frames consistent to avoid clutter. Mix canvas prints, photo prints, and fine art pieces with a clear theme, such as coastal colors or monochrome black and white.
Test drive your design in seconds. Use the Mixtiles app to preview your art on your wall, and explore our gallery walls for inspiration before ordering your ready to hang set.
What images and colors should you choose to match your decor?
Start with a theme. Family milestones, nature escapes, modern abstract wall pieces, or a calm monochrome story can all work. Echo two or three colors already in your living room, for example hues from your rug, throw pillows, or curtains. In neutral rooms, add one bold accent color for energy. For frames, pick a single finish such as black, white, or natural wood so the multi‑panel wall art reads as one design. Use high‑resolution images for sharp canvas print results.
How do you hang multi panel wall art perfectly, without nails or stress?
Plan the total width, mark your center, and keep panels level with even spacing. Mixtiles tiles use strong, gentle adhesive or a magnet system, so you can place, adjust, and re‑align until everything looks flawless. If you are renting or prefer zero holes, learn how to hang wall art without nails with step by step tips.
Plan and place
Use this quick process to get pro results.
- Wipe the wall so the adhesive grips cleanly;
- Lay out tiles on the floor to confirm order, spacing, and colors;
- Mark the wall center above your sofa and light pencil marks for left and right edges;
- Place the center tile first at 56–60 inches on center, then work outward, keeping 1.5–2 inch gaps;
- Press firmly for a few seconds to set each tile, then step back and fine‑tune alignment.
Spacing and alignment
Keep gaps consistent so a split panel reads as one image. Use a bubble level or your phone’s level. For tall grids, measure from the floor or baseboard to keep rows perfectly parallel.
Why Mixtiles makes it simple
Tiles are lightweight, ready to hang, and repositionable. No nails, no drills, and no wall damage. They work well on flat painted walls, and many customers succeed on textured walls, brick, stucco, wood paneling, or wallpaper. Clean with a dry, soft cloth only.
Why choose Mixtiles for multi panel wall art for living room?
Mixtiles was built to make decorating easy, fast, and affordable. Upload photos, pick frames or Canvas Tiles, and preview your split canvas or panel canvas layout in the app. Gallery Wall Kits remove guesswork with curated templates. Adhesive and magnetic mounting lets you update a single piece wall art panel or refresh a large wall art installation seasonally. You get the best of both worlds: modern, custom canvas art without tools, and a D2C experience that saves time from design to delivery.
Need layout inspiration? Start with these living‑room‑ready recipes
Calm coastal triptych
Choose three large panels with soft blues and sandy neutrals. Keep 2 inch spacing and hang 6–8 inches above the sofa for a breezy, modern look.
Family grid of six
Create two rows of three tiles in matching black frames. Mix close‑ups and candid moments in a warm palette so the whole room feels personal and inviting.
Modern 5‑piece staggered
Make the center panel tallest, then step down symmetrically. Use abstract strokes that pull colors from your rug and pillows for a designer‑grade statement wall.
Multi panel wall art for living room turns any blank space into a curated focal point. With the right size, spacing, and palette, your wall canvas or split canvas prints will feel cohesive with your living style. Mixtiles makes it effortless to design, order, and install ready to hang panel wall art that protects your walls, saves time, and looks stunning from day one.
Create your multi panel wall art now. Visit mixtiles.com to turn your photos to canvas and order your stunning, ready to hang wall art today.
Frequently Asked Questions
How do I choose the right number of panels for multi panel wall art for my living room?
Match panel count to wall width and furniture scale. Triptychs suit most standard sofas, four piece grids balance taller or square spaces, five piece sets fill extra wide walls. Keep total art width about two thirds of the sofa for pleasing proportions.
What height and spacing should I use above a sofa?
Hang the bottom of the composition 6 to 8 inches above the sofa, keep the center around 56 to 60 inches from the floor, and use 1.5 to 2 inch gaps between panels. Maintain level alignment so the set reads as one piece.
Is it better to split one photo across panels or mix different images?
Split a single photo for panoramas, skylines, or images with strong lines. Use a coordinated series for grids, keeping a consistent palette. Pick high resolution files, about 300 DPI at print size, and avoid placing faces or key details on panel seams.
How can I hang multi panel wall art without damaging walls?
Use removable adhesive strips, peel and stick frames, or lightweight magnetic systems. Clean the wall, mark a center line, and level as you go. For textured or brick surfaces, test a small area first, or use small nails and anchors for heavier pieces.
Be the first to know — deals, news & decor ideas.
By clicking you agree to the Terms of Use & Privacy Policy