
Organize Photos for a Photo Book: Stress-Free Tips
Key Takeaways
- Centralize, declutter, and group by story: gather photos in one hub, do a ruthless first pass, then sort by time, event, or theme;
- Cull in three passes: quick delete, shortlist favorites, and final “story fit” selection to keep only images that move the narrative forward;
- Sequence over layout: build a beginning–middle–end flow before you touch page templates; pace with anchor images and white space;
- Maintain a monthly routine: favorites, folders, and duplicate checks keep you ready for the next photo book, and for turning highlights into Mixtiles wall art.
If your camera roll is overflowing, creating a photo book can feel overwhelming. The secret is a simple, repeatable system. In this guide, you will learn how to gather, declutter, and group your photos, then select and sequence the very best images into a cohesive story. We will cover folder structures, culling rules, quality checks, and time‑saving tools, plus smart ways to carry your organization forward. By the end, you will be ready to design a beautiful photo book and spotlight your favorites on your walls.
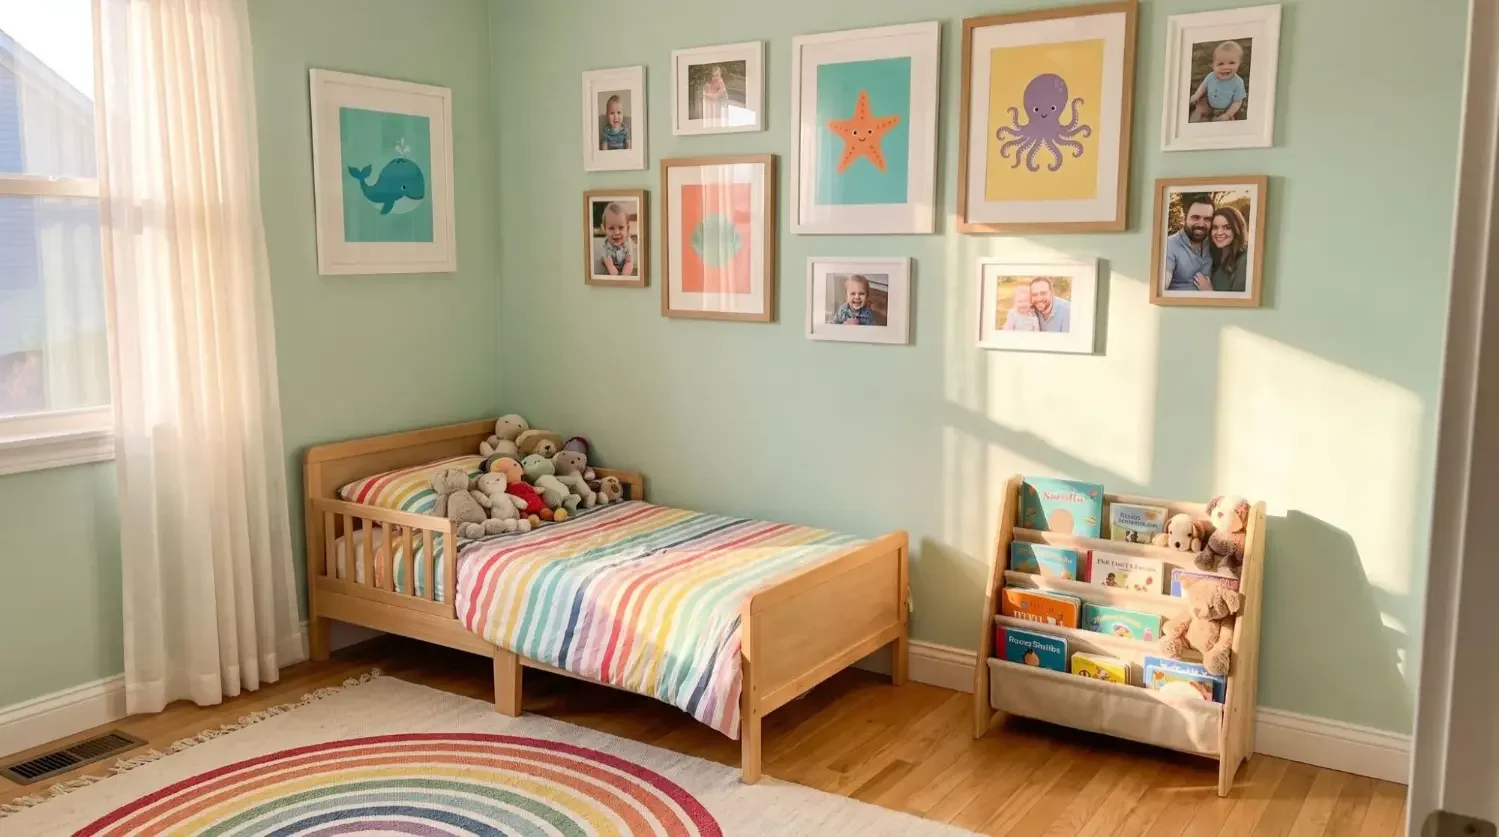
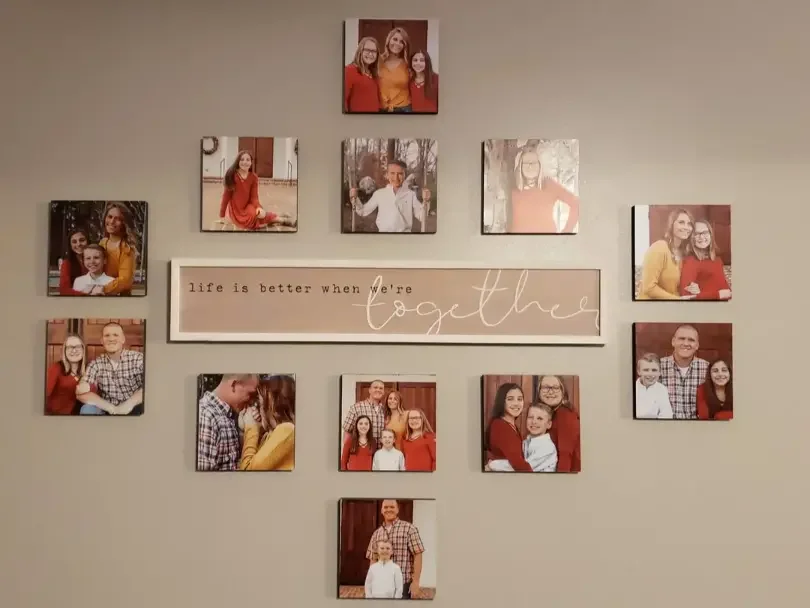
Bring your photo book highlights to your walls. Download the Mixtiles app to turn your favorite images into lightweight, adhesive photo tiles. You can even create a stunning photo gallery wall with no nails or damage.
Where should you start when learning how to organize photos for a photo book?
Start by defining the goal of your book, narrowing the scope, and choosing a single place to collect every digital photo. This early clarity makes it easy to organize your photos and speeds up design later in Mixtiles photo books or other albums.
Use the quick checklist below to set a strong foundation:
- Define the goal: event, trip, baby’s first year, or year‑in‑review;
- Set scope: date range, people, and locations to include, as well as what to skip;
- Choose a central hub: Apple Photos, Google Photos, or a master folder on your hard drive.
What story do you want this book to tell?
Write a one‑sentence theme, for example: “Our family’s move into our new home and the first year of cozy routines.” This single line becomes your filter while organizing your photos. Decide on tone as well. You might prefer candid everyday pages that feel like a journal, or milestone highlights that read like a greatest‑hits photo album. When you turn a few favorites into wall prints, use this guide on how to choose wall art to match images to your rooms, colors, and mood.
How do you gather everything into one place without chaos?
Pull images from every source into your hub so you can see the whole picture. Get your photos off camera cards, an external hard drive, old phones, and cloud services like iCloud or Google Photos. Use a shared album to collect images from friends and family after weddings, travel, or reunions. Copy into a new project folder rather than moving originals, so your archive stays intact while you work on the book.
A clean folder structure that actually works
Create a single project folder named by year and title, for example: 2025_Family_Yearbook. Inside it, add subfolders such as 01_RawImports, 02_Culled, 03_Favorites, 04_Sequenced, and 05_Exports. Add a Text subfolder for dates, place names, and short anecdotes you plan to include on the cover or future page captions. This simple structure keeps everything organized, and it makes it easier to find images later if you want matching Mixtiles.
What is the fastest way to declutter before you curate?
Work in short batches of about 10 minutes. Speed matters at this stage. Delete duplicates, bursts, screenshots, receipts, and missed‑focus photos. Keep one‑of‑a‑kind moments even if the exposure is not perfect, because emotion often beats technical quality in a printed book. This quick reduction makes the next pass much easier to do.
Tools to speed up the first pass
Use duplicate detection in Apple Photos or Google Photos to merge similar shots. Apps like Gemini Photos or Similar Photos Cleaner can help you spot near‑identical images on a computer. Tap the heart icon to mark maybes as favorites, and use albums or folders to group by event or month while you are organizing your photos.
Should you group by time, event, or theme?
Any of the three can work. Choose the structure that matches how you remember the story. Time‑based works well for travel photo books or baby yearbooks. Event‑based helps with weddings or birthdays. Themes like food, firsts, or city views can make a creative chapter in bigger books.
Album examples that make book design easier
For a trip, create Day 1 through Day 5 albums, plus Food and Panoramas, so your sequence is clear and your best photo spreads are easier to design. For Baby Year 1, store Months 1–12 and a Milestones album for first smile, first steps, and first birthday. For a family photo book, try Seasons, Holidays, and Everyday Moments albums so you can quickly find images for each part of the story.
Your best book images deserve a spot on the wall. Create a beautiful picture wall with our peel‑and‑stick frames you can rearrange anytime. Start in the Mixtiles app.

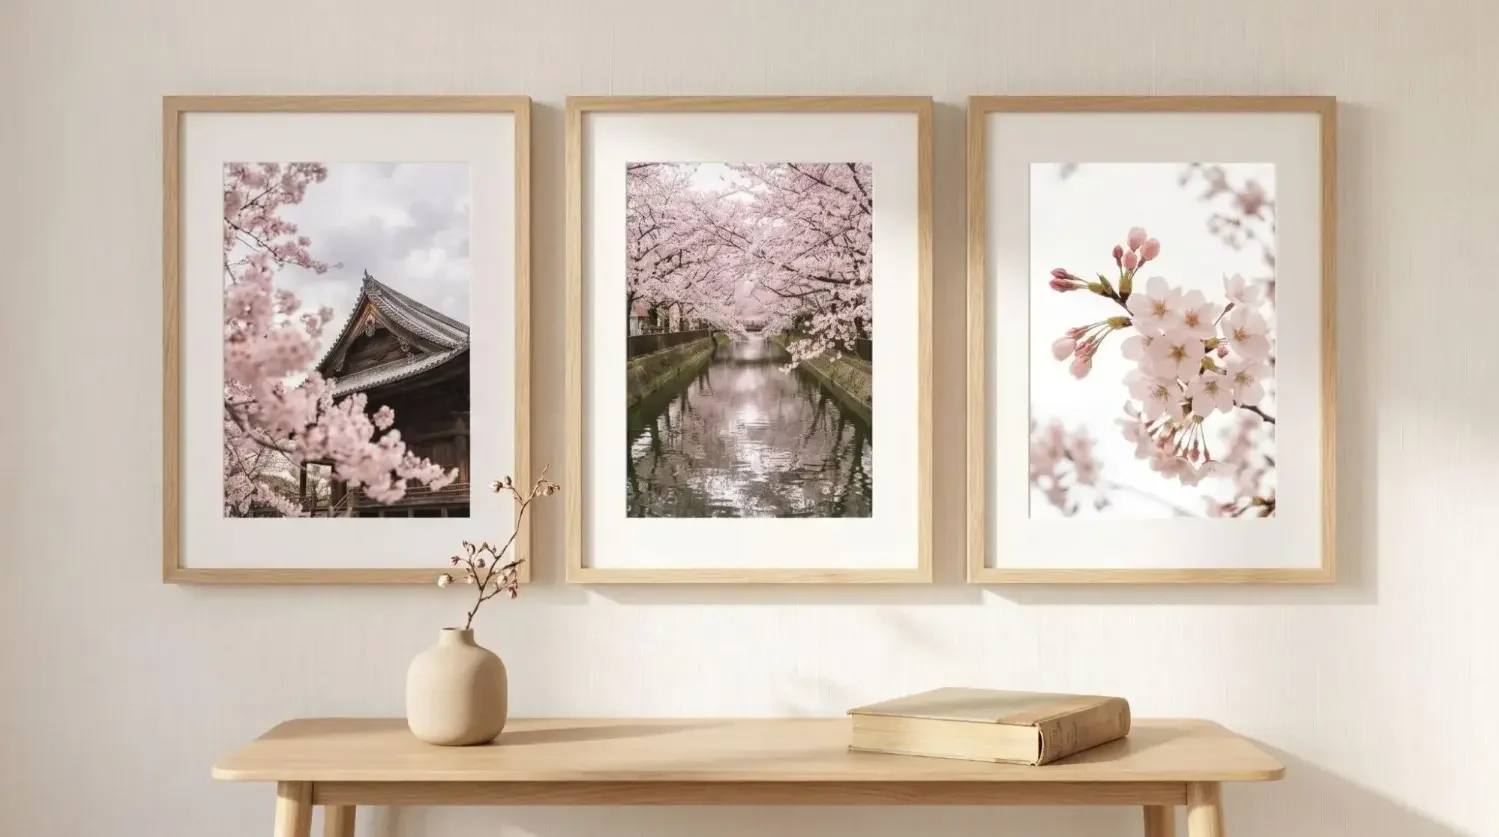
Planning a grid or gallery? Learn how to arrange art on a wall so spacing, alignment, and visual weight feel balanced.
How do you pick the keepers without second‑guessing?
Use a three‑pass cull to move quickly from many photos to the few that make a strong book. This simple method cuts indecision and helps you make a book that reads like a story, not a dump of similar shots.
- Pass 1: Delete the obvious no’s, including duplicates and test shots;
- Pass 2: Heart or star the maybes, prioritizing emotion and variety over technical perfection;
- Pass 3: Apply a story‑fit test, keeping only images that earn a place in your narrative.
As you refine, try the 70‑20‑10 method. Aim for about 70 percent story essentials, 20 percent supporting details, and 10 percent “wow” hero shots that deserve full‑page treatment. If a photo is beautiful but off theme, send it to a B‑Sides album so it does not distract from the main story.
What makes a photo “book‑worthy”?
Look for real interactions, clear expressions, and small details that say a lot, like tiny hands holding a birthday candle or a street sign that sets location. Mix wide, medium, and close views so each page has rhythm. Combine people, places, and details, and balance vertical and horizontal images so your layout options stay flexible.
How do you sequence photos so your book reads like a story?
Think beginning, middle, and end. Open with a strong scene setter or a favorite photo. Group similar locations or parts of the day to create flow. Use visual transitions like doors, roads, or skies to move from one part to the next. Alternate page types so your reader gets breathing room, for example a hero image on one page and a simple grid on the next.
Proven sequencing patterns
Chronological order with themed inserts works well, such as a dedicated food spread mid‑trip. For travel, use day openers with a full‑bleed scene to mark each chapter. Pair images as diptychs or triptychs to make mini‑stories, like departure, destination, and first meal. Mixtiles Photo Books keep it easy with one photo per page, so a clear sequence is even more important to make the flow look intentional.
How many photos should you include, and what about quality?
Fit the count to the project. A weekend trip might sing with 20 to 30 images. A larger event often needs 60 to 100. Year‑in‑review books can land between 120 and 180. For print quality, aim for 300 DPI at the final page size. Smaller prints can still look good at 240 DPI if properly exposed and sharpened.
|
Project Type |
Suggested Photo Count |
Typical Pages |
Recommended DPI |
Minimum DPI |
|---|---|---|---|---|
|
Short Trip or Weekend |
20–30 |
20–30, one photo per page |
300 at print size |
240 for smaller pages |
|
Big Event or Wedding |
60–100 |
60–100, one photo per page |
300 at print size |
240 with careful edits |
|
Year‑in‑Review Family Book |
120–180 |
120–180, one photo per page |
300 at print size |
240 acceptable |
Color and consistency tips
Do light batch edits for exposure and white balance so pages feel unified. Straighten horizons and keep skin tones natural. If you include black and white photography, make sure contrast and grain feel similar across images so the set reads as one part of the story, not a mix of unrelated looks.
Should you edit before or after you lay out the book?
Do a light pre‑edit first. Fix exposure, color, crop, and alignment so you are not distracted while you sequence. Use consistent presets for a unified look, then fine‑tune a handful of hero photos later. Export with clear names like YYYYMMDD_Location_Sequence.jpg. In Mixtiles Photo Books, you can reorder images easily and crop to fit pages, which makes final adjustments simple and fast.
How do you incorporate old prints and memorabilia?
Scan prints at 600 DPI, and small originals like wallet photos at 1200 DPI for a crisp result. Gently clean dust before scanning. Keep original borders if you want that nostalgic photo album vibe. Add short notes to your Text folder with dates, names, and places. Even if you cannot add per‑page captions now, these details help you write a strong cover title and can guide future updates.
How do you stay organized going forward?
Build a quick monthly ritual. Heart your top 20 images, delete clutter, and tag key events so your digital photo archive always feels ready. Once a quarter, back up to the cloud and an external hard drive, and test a file restore. These small habits make it much easier to get started on new photo books, and they keep favorite photos easy to find when you want matching wall art.
A repeatable checklist you can reuse
Gather → Declutter → Group → Favorite → Sequence → Edit → Export → Design → Print. Save this in your project’s Text folder so every new book is faster to make.
Which apps and workflows make this easier?
Pick simple, reliable tools so your system sticks. Here are great options that work well together and help you organize your photos with less effort:
- Apple Photos or Google Photos: favorites, shared albums, face and place search, and basic edits;
- Lightroom: ratings, smart collections, batch editing, and high‑quality exports for print‑ready images;
- Utilities and notes: duplicate finders, metadata editors, and your notes app to track captions and page ideas.
Pro tip: Lock your sequence first, then do any final fine‑tuning in your book software. In Mixtiles Photo Books, the one‑photo‑per‑page design keeps the focus on curation and storytelling, which is exactly what makes a book feel good to hold and read.
Organizing photos for a photo book is simple when you follow a repeatable flow. Centralize your digital photo library, do a fast declutter, group by story, and curate with a three‑pass cull. Then sequence for a beginning–middle–end that makes your pages feel intentional. Keep color consistent and resolution solid for the best photo results. Build a light monthly routine to keep albums ready, and when your absolute favorites are chosen, let them live beyond the page at home on your walls.

Download the Mixtiles app to order high-quality canvas prints or other unique wall arts in minutes. Free shipping, zero tools.
Frequently Asked Questions
How should I arrange photos in a photo book for a clean, cohesive flow?
Lead with your strongest scene setter, then follow a simple beginning, middle, end. Group by time, event, or theme, and alternate wide, medium, and close views. Use white space to pace the story. Mixtiles Photo Books keep it simple with one photo per page.
What is the best way to organize 20 years of photos before making a book?
Centralize everything first, then sort by year or decade, and add albums for key people, events, and themes. Work one year at a time to avoid overwhelm. Favorite top images, remove duplicates, and back up. This creates quick shortlists for books and matching wall art.
Which common photo book layout mistakes should I avoid?
Avoid low resolution, cluttered pages, inconsistent color, repetitive angles, and weak sequencing. Aim for 300 DPI at print size, keep layouts clean, and do light batch edits. Cull in passes, then lock a clear narrative. One-photo-per-page designs make curation stronger and reading easier.
Be the first to know — deals, news & decor ideas.
By clicking you agree to the Terms of Use & Privacy Policy