
Hang Wall Art Without Nails: Easy, Damage-Free Tips
Key Takeaways
- You can hang wall art without nails using adhesive strips, hooks, rails, ledges, leaning, easels, or clip systems. No holes, no spackle;
- Match the method to your wall type and art weight; prep the surface well and follow curing times for a secure, damage-free hold;
- Plan your layout first, then install with simple steps; avoid common mistakes like skipping cleaning or overloading adhesives;
- Mixtiles offers lightweight, adhesive, and fully repositionable frames; ideal for renters and DIYers who want gallery walls without tools.
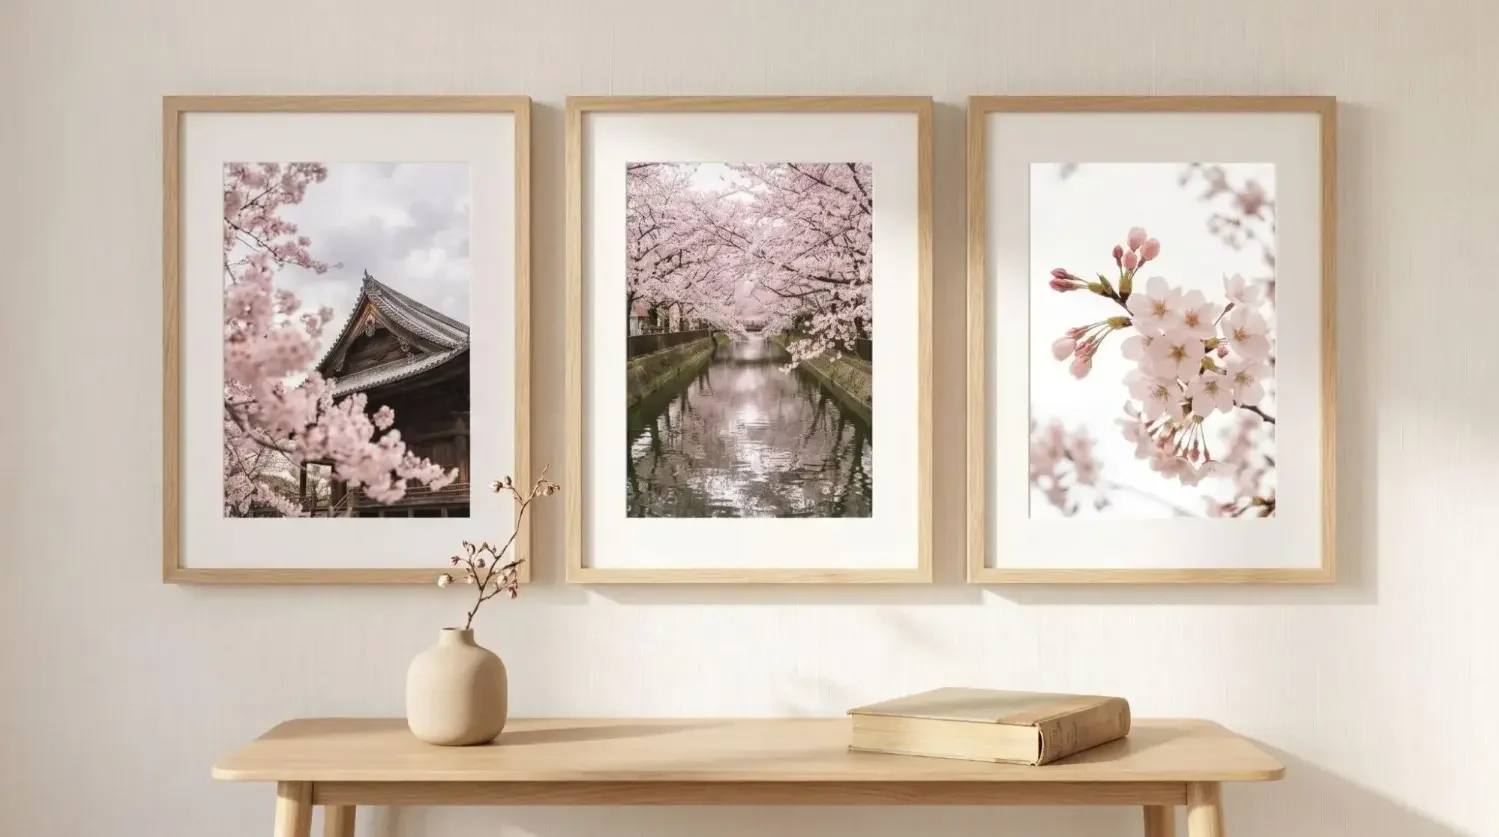
Want to hang wall art without nails? Whether you’re renting or just avoiding holes, there are plenty of stylish, secure ways to get your gallery wall up damage-free. This guide covers the best nail-free methods, how to choose the right one for your walls and artwork, step-by-step installation, and pro tips to layout, remove, and refresh your display (plus why Mixtiles make it the easiest path to wow-worthy walls).
Top pick for stress-free picture hanging: create and order Mixtiles photo tiles that stick and re-stick without damaging the paint.
How to hang wall art without nails: what’s the best method?
The best way to hang pictures without nails depends on weight, surface, and how often you’ll rearrange. Adhesive picture hangers and command strips are commonly used for lightweight frames; hooks suit wire-backed pieces; rails and ledges add flexibility; leaning art is the easiest no-commitment option. Use the table below to choose the option that will work best for your home.
|
Method |
Typical Weight It Can Hold |
Best Surfaces |
Pros / Cons
|
|---|---|---|---|
|
Adhesive picture-hanging strips |
Up to 4–12 lb, depending on size and number used |
Painted drywall, tile, glass, metal, finished wood |
Clean look and removable; may struggle on heavy or textured walls. |
|
Adhesive hooks |
Up to 5–7.5 lb per hook (check product) |
Smooth, clean surfaces |
Great for wire-backed frames; visible hook and gap behind frame. |
|
Picture rail + cord |
Moderate to heavy (rail determines support) |
Walls with existing rails/molding |
Highly flexible layouts; requires existing rails. |
|
Ledges, mantels, shelves |
Varies by furniture |
N/A (no wall attachment) |
Rearrange anytime; takes surface or floor space. |
|
Leaning art or easels |
Great for large, heavy pieces |
N/A |
Zero wall contact; needs stable floor area. |
|
Mixtiles photo tiles |
Lightweight tiles designed for painted walls |
Most painted drywall (clean, dry, cured paint) |
Fast, repositionable, frames without tools; not for rough brick. |
How do I choose a nail-free method for my walls and artwork?
Start with your wall conditions and the weight of your picture frames. Smooth, clean paint plus lightweight art usually points to adhesive strips; heavier pieces may need hooks, rails, or a leaning setup. If you love to refresh decor without leaving marks, pick products designed to re-stick well.
Consider your wall surface
Painted drywall works well with most adhesive picture hangers when the paint is fully cured and clean. Textured walls reduce contact area, so hanging strips may not adhere as strongly. Tile, glass, metal, and finished wood are excellent for adhesives because they’re smooth. For brick or concrete, dust can interfere; use brick clips, lean art, or a rail system instead of trying to force adhesives to work.
Check the weight and size of your art
As a general rule, small frames up to about 4–6 lb do great with command strips; medium frames around 6–12 lb may need multiple strips or an adhesive hook; oversized or heavy items are safer leaning or on rails. Always check what a product can hold and follow instructions: don’t exceed limits or you may leave holes or damage the paint.
Think about flexibility
If you want to hang pictures without nails and swap them often, choose options that remove cleanly and re-stick. Mixtiles are made for picture hanging that changes with your life, so you can use the same frames without tools and refresh your wall without leaving residue.
What are the easiest no-nail methods I can do in minutes?
The fastest options are adhesive picture-hanging strips, adhesive hooks for wire-backed frames, and simply leaning art. They’re simple, need no drywall anchors, and they help you hang something today.
Adhesive picture-hanging strips
Follow these steps for a secure, clean finish with hanging strips:
- Clean the wall and the back of the frame with isopropyl alcohol; let both dry completely;
- Apply strips to the frame per instructions, pressing firmly for the recommended time;
- Level, then press the frame onto the wall; hold steady pressure as directed;
- Let the adhesive cure. Many command strips suggest waiting 1 hour (or longer) before loading weight.
Adhesive hooks
Pick a hook rated for the weight of your picture. Clean the wall, apply the adhesive base, press and hold, then hang frames with a wire or sawtooth. This is a great way to hang pictures without nails when you like the slight shadow gap a hook creates.
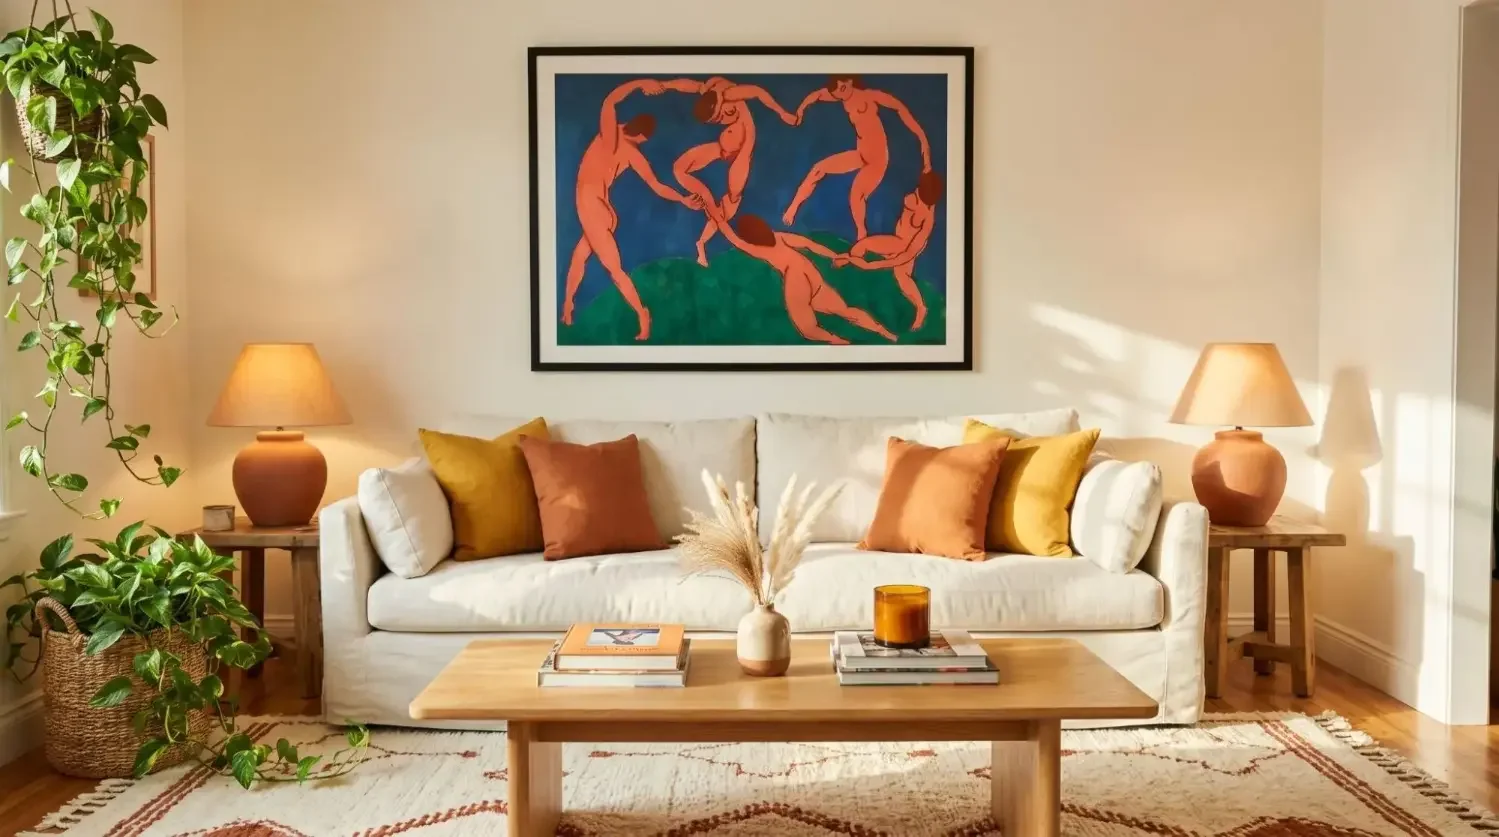
Lean and layer
Leaning is the best way to hang frames without any adhesives. Set art on a console, dresser, mantel, or directly on the floor. Layer pieces, mix heights, and anchor with a lamp or plant for balance. It’s easy, stylish, and zero-risk for your walls.
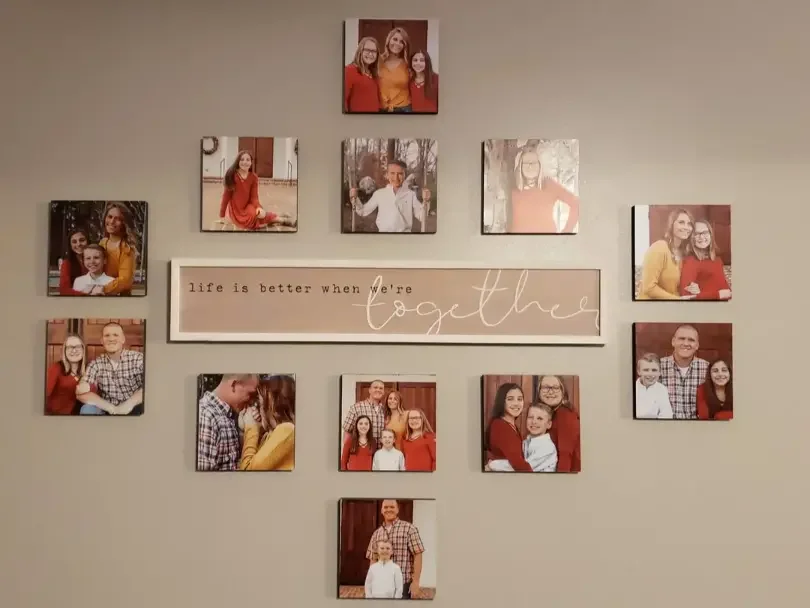
Build a gallery in minutes: try Mixtiles photo gallery wall kits for curated layouts and adhesive-backed tiles that make picture hanging fast.
Can I build a gallery wall without nails?
Yes! Plan your layout, choose lightweight products, and stick to a simple install workflow. Mixtiles make gallery walls easy because each tile can be moved until everything looks just right.
Plan your layout first
Choose a theme or color story and decide if you want a tidy grid or an organic mix. Arrange pictures on the floor or use paper templates to preview spacing. A center height of 57–60 inches from the floor and 2–3 inches between frames helps everything read well.
Use lightweight, adhesive-ready frames
Lightweight frames support better adhesion and safety. Mixtiles photo tiles and canvas prints with peel-and-stick backs are designed for walls without nails: perfect when you want decor without tools or mess.
Installation workflow for a grid or organic layout
Snap a level line or use a laser. Place the center frame first and work outward for balance. A little cardboard spacer keeps gaps even so your picture frames look intentional.
Will nail-free methods damage my paint?
Used correctly, modern adhesives remove without damaging the paint. The keys are surface prep, following weight limits, and proper removal technique.
How to prep for a clean release
Ensure any fresh paint has cured at least 2–3 weeks before hanging anything. Clean the wall with isopropyl alcohol (not household cleaners that may leave residue). Avoid dusty, damp, or greasy areas, and firmly press the adhesives for the full time recommended.
How to remove adhesives safely
Use the slow, straight, stretch-release method where applicable. If you feel resistance, warm the strip with a hairdryer, then peel gently. For any leftover residue, use a small amount of adhesive remover and test a discreet spot first.
What if my walls are textured, tiled, or brick?
You can still hang pictures without nails, but match the method to the surface. Smooth tile and glass are ideal for adhesives; textured or dusty masonry may need alternatives.
Textured walls
Opt for products rated for light texture and reduce weight expectations. Larger adhesive surface areas help, but for heavy art, leaning may be the best way.
Tile, glass, and metal
These are great for adhesive strips and hooks. Clean thoroughly, avoid grout lines, and follow curing times so strips can support the load.
Brick and concrete
Use brick clips, rails, or lean art. Standard adhesives struggle on dusty masonry, and you don’t need to force them or reach for drywall anchors when you’re aiming for a wall without nails.
What mistakes should I avoid when hanging art without nails?
Keep your display secure and your walls pristine by skipping these common pitfalls:
- Skipping surface prep or the recommended curing time;
- Overloading beyond a product’s stated weight limits;
- Using on fresh paint that hasn’t fully cured;
- Reusing single-use hanging strips or installing in steamy bathrooms without rated products.
How does Mixtiles make nail-free hanging simpler?
Mixtiles are purpose-built for hanging pictures without nails: lightweight, adhesive, and repositionable. They help you hang frames quickly and refresh layouts anytime without leaving residue.
Designed for damage-free walls
Each tile has built-in adhesive that sticks to most painted walls and removes cleanly. You can use the same frames without tools and swap images whenever you want.
Fast, frustration-free setup
No measuring tape drama: use simple alignment and place tiles by hand. If you don’t like the spot, lift and re-stick. It’s the easiest way to hang pictures without nails.
Perfect for renters and design lovers
Create grids, rows, or organic layouts in minutes. Explore Photo Tiles, peel-and-stick Canvas Prints, and Gallery Wall options that look good and leave nothing behind.
Learning how to hang wall art without nails is all about matching the method to your walls, your picture weight, and your need to rearrange. With a little prep and the right products, you can hang pictures without damaging the paint and refresh your decor without leaving a trace. Ready to skip nail holes and keep things easy? Start your wall with Mixtiles and enjoy frames that stick, re-stick, and look great, no tools required.
Create your Mixtiles now: Choose your photos, pick a style, and we’ll ship adhesive frames to your door. Build your gallery wall today.
Frequently Asked Questions
What’s the easiest way to hang wall art without nails?
Adhesive picture-hanging strips or hooks are the quickest. Clean the wall and frame with isopropyl alcohol, apply per instructions, press firmly, then let the adhesive cure before loading weight. Stick to smooth, clean paint, tile, glass, or metal, and match the product’s weight rating.
How do I hang art without damaging the paint?
For damage-free results, wait until paint cures (about 2–3 weeks), clean surfaces with isopropyl alcohol, and use adhesives within their weight limits. Avoid texture, dust, and humidity. When removing, pull tabs straight down to stretch-release; if needed, warm gently with a hairdryer first.
Do Command-style strips really work for hanging pictures?
Yes, command-style picture strips work when you choose the right size, use enough pairs, and apply to clean, smooth surfaces. Press firmly, then wait at least an hour (longer is safer) before hanging. They’re not ideal for rough texture, brick, or very heavy, valuable pieces.
How can I hang heavier artwork without nails?
For heavier pieces, skip standard strips. Use a picture rail with cords, rest art on ledges or shelves, or simply lean oversized frames on the floor or furniture. Heavy-duty adhesive anchors exist for smooth surfaces, but always follow ratings. And when in doubt, opt for non-adhesive methods.
What works on textured walls or brick?
Lightly textured paint can work with larger adhesive surfaces and lighter frames; test first. For brick or concrete, adhesives struggle because of dust and unevenness. Choose brick clips, picture rails, or lean art instead. Mixtiles are designed for smooth painted walls rather than rough masonry.
Can I make a gallery wall without tools?
Absolutely. Plan your layout on the floor, then use lightweight, adhesive-backed frames like Mixtiles. Start from the center, keep 2–3 inches between tiles, and use a level or spacer. Mixtiles re-stick cleanly, so you can nudge spacing until your gallery looks perfect.
Be the first to know — deals, news & decor ideas.
By clicking you agree to the Terms of Use & Privacy Policy