
Best Photo Book Layouts: Create Stunning Visual Stories
Key Takeaways
- The best photo book layouts balance full-bleed hero images, clean grids, and generous white space for clarity and impact;
- Plan your flow first, then place 1 to 6 images per spread, using short captions only where they add essential context;
- Lean on proven layout recipes for weddings, travel, year in review, and portfolios to move fast without losing style;
- Turn standout images into wall art with Mixtiles, then preview a gallery in your space before you print your book.
Choosing the best photo book layouts should feel simple. With a few reliable page formulas and a clear story arc, your book will read like a movie, not a scrapbook. In this guide, you will learn which layouts always work, how many photos to place per page, and recipe ideas for wedding, travel, family, and portfolio albums. Once you identify your hero images, you can bring the highlights to your home as Mixtiles, so your favorite moments live on your walls too.
Turn your best photos into a wall ready shortlist. Upload them to create beautiful photo tiles, and preview a gallery in your room, no nails and no mess.
What actually makes a photo book layout the best?
A great layout directs the eye to one clear focal point, then supports it with rhythm and consistency. Lead each spread with a star image. Alternate high‑energy sequences with calmer, white‑space pages to avoid visual fatigue. Repeat a small toolkit of layouts so the book feels cohesive from cover to cover. Keep margins, color treatment, and caption position consistent. The result is a polished, coffee table book vibe that lets your photos speak for themselves. If you are designing with display in mind, explore our coffee table books guide for more styling ideas.
How should you plan flow before you start placing photos?
Decide on structure first. Chronological albums are perfect for travel photo books and year in review projects. Thematic chapters work well for portfolios, family photo stories, or a baby photo album organized by milestones. Curate in rounds: choose your best photo per scene, then add supporting details. Set a spread budget so you know when to use one image for impact versus three or more for energy. Finally, sketch a sequence with a strong opener, natural transitions, one or two peak moments, and a quiet closing scene.
Planning a destination album? Learn how to make a travel photo book that reads like a journey. Working on a wedding? Start with our tips on how to choose photos for a wedding album to curate a tight shortlist.
What are the best photo book layouts that work every time?
The most dependable photo book layouts are simple. Combine a full‑bleed hero, a clean duo, a tidy grid, a relaxed asymmetric collage, and a text‑plus‑image page. Rotate these formulas and your book will look intentional without feeling repetitive.
Full‑bleed hero spread
Use this when emotion peaks: first dance, a sweeping travel landscape, the best photo from a family reunion. Let the image fill the page or the full spread. Keep text off the photo. If you need context, place a small caption on the opposite page or at the bottom margin.
Balanced two‑up spread, also called a duo
Great for pairings like vows and reactions, before and after, or two angles of the same scene. Keep horizons aligned and margins equal so the page feels steady. This layout is a favorite in wedding photo albums and clean portfolio books.
Clean grids with 4, 6, or 9 images
Grids create momentum on party pages, markets, street photography, and details. Maintain even spacing and try not to mix orientations inside a tight grid. Black and white processing can unify a busy set when lighting varies.
Asymmetric collage
Anchor the spread with one larger image, then sprinkle one to three smaller accents. This relaxed composition suits day‑in‑the‑life chapters, travel transitions, and baby photo chapters with candid moments.
Text‑forward page, journal plus image
Pair a calm photo with a short paragraph. Perfect for travel notes, a year in review reflection, a favorite recipe beside a family photo, or a save the date story beside an engagement image. Keep line length short and typography quiet.
Panoramic effect without layflat
If your book is a standard softcover photo book with a visible gutter, simulate a panorama using three or four aligned images across the spread. This preserves the sense of width without losing faces into the spine.
Have your hero images picked out? Drop 8 to 12 favorites into the Mixtiles app. You can preview a stunning photo gallery wall right in your space before you order.
How many photos per spread is ideal, and where do captions go?
Quantity sets the mood. One to two photos signal importance. Three to four feel like a scene. Five to nine create energy. Place short, specific captions in a consistent spot, usually below images or at the bottom‑left. Keep type small and legible so words support, not compete.
Photos per spread: effect, use cases, and notes
|
Photos per spread |
Visual effect |
Best for |
Notes |
|---|---|---|---|
|
1 |
Iconic and calm |
Hero portraits, landscapes, wedding photo peaks |
Use full‑bleed or large margins for a coffee table style |
|
2 |
Balanced and focused |
Before and after, vows and reactions, travel scenes |
Align edges and keep even gutters for a tidy duo |
|
3 to 4 |
Storytelling and paced |
Short sequences, family activities, business case studies |
Mix one larger anchor image with smaller supports |
|
5 to 9 |
Energetic and lively |
Dance floors, markets, year in review highlights |
Use a grid to maintain order and readability |
What layout recipes work best for weddings, travel, and family books?
For fast, beautiful pages, use proven recipes. Pick a template below that matches your chapter, then swap in your photos. If you are creating Mixtiles Photo Books today, remember that pages are one photo per page, so emulate duos and grids by sequencing single images across adjacent pages and by opening chapters with a strong title page. Captioning inside pages is coming soon, so keep notes short on chapter openers or the back cover if you need text.
Wedding album layout recipes

For a step by step overview from shot selection to printing, see our wedding photo books guide.
First Look, two small plus one large
Build suspense with two smaller prep portraits on the left page. Land the emotional reveal on the right with a full‑bleed reaction. This pairing becomes a powerful opening to the ceremony chapter.
Vows, duo with short excerpts
Place the partner’s portrait on the left with a short vow excerpt, then mirror the right page with the other partner. Keep text minimal and let expressions carry the page.
Ceremony milestones, calm triptych
Show the procession, the kiss, and the joyful aisle exit in three balanced frames across a spread. Equal margins keep the moment elegant and timeless.
Dance floor, tight 6‑up rhythm
Capture motion and laughter with six equally sized frames. Consistent spacing keeps the fun readable. Convert to black and white if lighting varies wildly.
Travel photo book layout recipes

Chapter opener, full‑bleed plus title
Begin each location with a dramatic full‑bleed hero, then add location and date as a subtle title. Use the facing page for a small map or a short itinerary paragraph.
Food and finds, tidy 4‑up squares
Group restaurant dishes, street snacks, or local crafts into a square grid. Add tiny labels with venue names so your future self can return.
Panorama hack, four across
Align four adjacent frames to recreate a wide cityscape or coastline without a layflat album. Keep horizons level across images for a seamless read.
Maps and notes, text‑forward calm
Use a quiet image with generous white space beside a short journal entry. This gives your travel photo book a reflective cadence between high‑energy chapters.
Family year‑in‑review layout recipes

Seasons, four across a spread
Show winter, spring, summer, and fall as four evenly sized images. This instantly communicates change over time in a single glance.
Milestones, hero opener plus duo
Open with a full‑bleed moment like a graduation or first steps. Follow with a balanced duo showing details and reactions for context.
Selfies and outtakes, 9‑up fun
Celebrate the chaos with nine small frames. A unified edit, such as black and white, keeps the page cohesive on lower‑light phone photos.
Portfolio lookbook layout recipes

One image per page plus caption
Give each piece its own page with a small caption listing title, medium, and notes. This reads like a professional gallery catalog for art or business presentations.
Detail quartet, four close‑ups
Tell a micro‑story of one project: texture, angle, context, and final result. This is perfect for design, food styling, and product photography books.
How do typography, white space, and margins elevate your layouts?
Limit yourself to one or two typefaces for the entire book. Choose fonts for legibility, not decoration, and keep caption size modest. White space is a design tool. Use it to create contrast between energetic grids and quiet moments. Lock consistent inner and outer margins, and avoid placing important details near the spine. Keep caption color neutral so it never fights with the photo. The cleaner the page feels, the more your images look like art prints.
How can you proof your book, and then bring the highlights to your walls?

Print a few test pages at home to check brightness, contrast, and type size. Flip through a draft to confirm rhythm, alternating busy pages with calm ones. On your final pass, keep faces and crucial details away from the gutter, especially in perfect‑bound books.
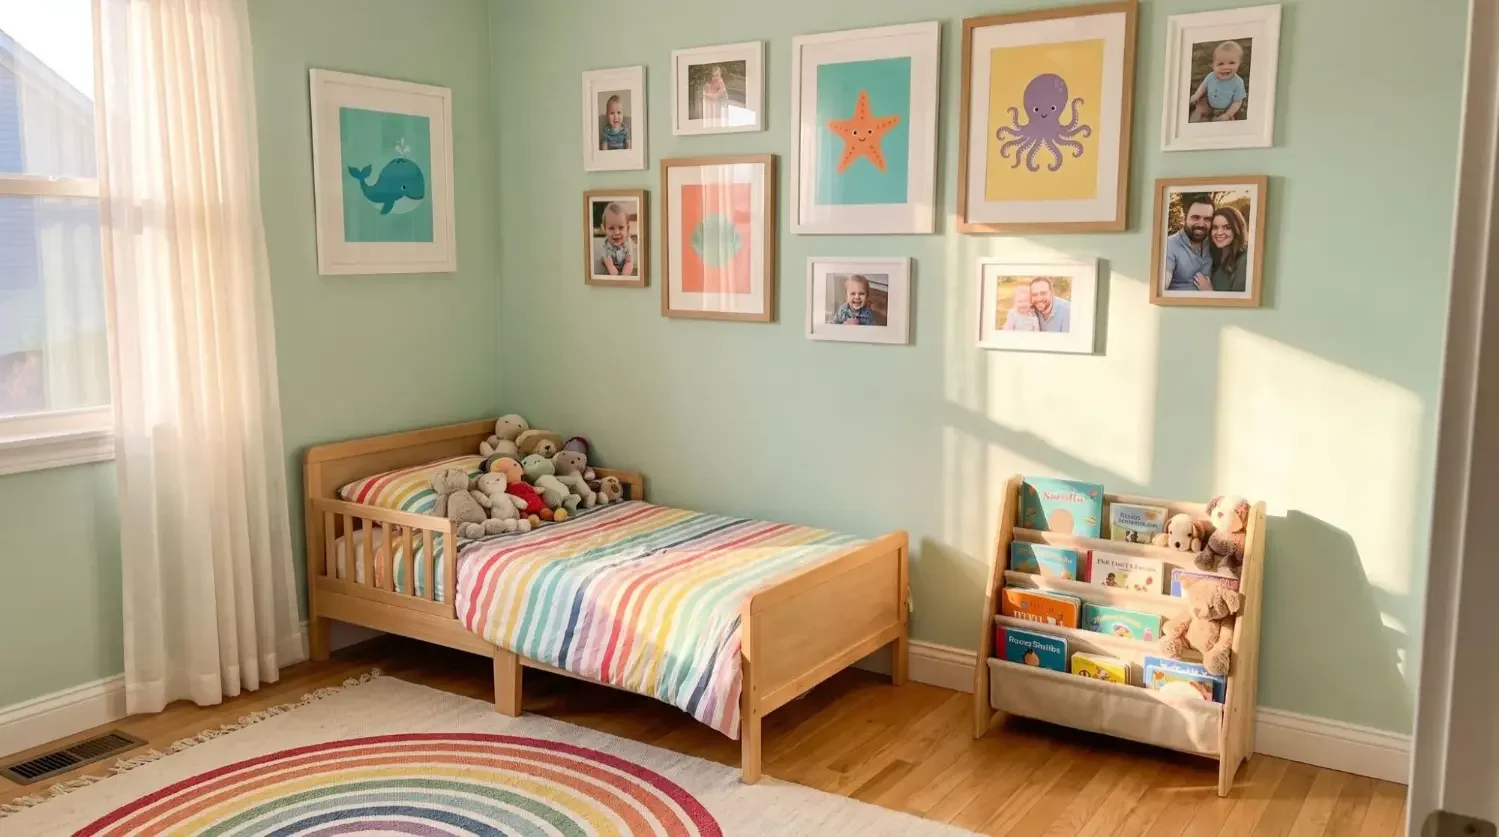
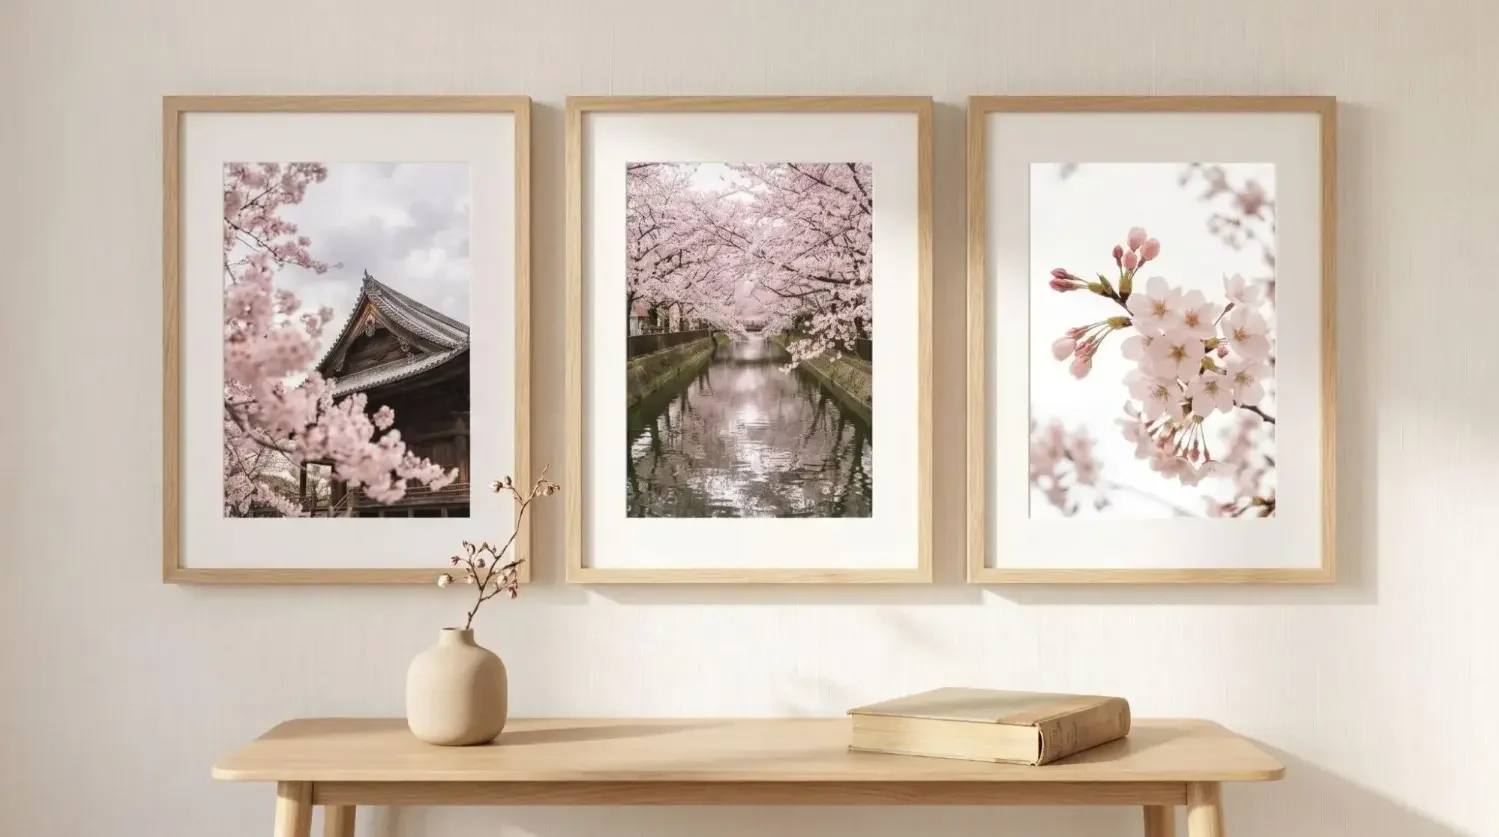
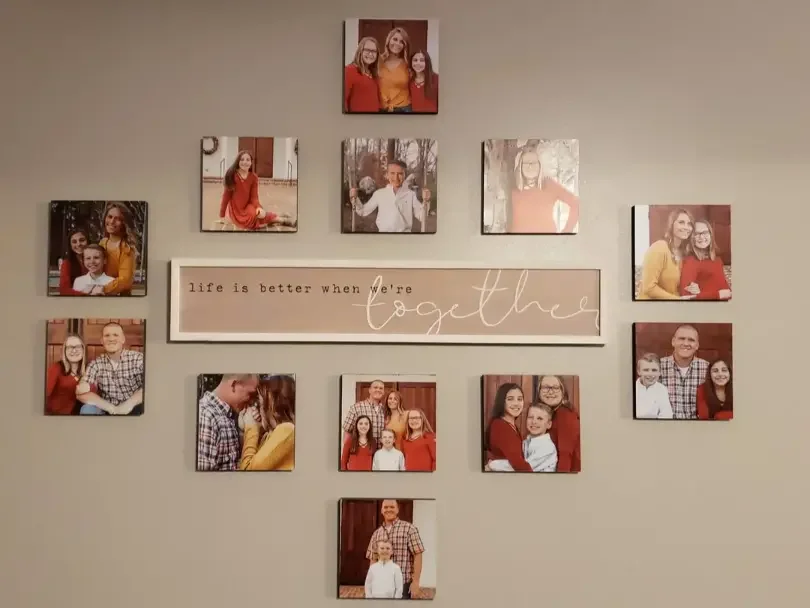
When you are happy with the flow, choose six to twelve hero images and bring them into your home as Mixtiles. Tiles are lightweight and arrive ready to hang. Stick and restick to flat painted walls, textured surfaces, or even wood paneling. You can order individual photo tiles, canvas prints for a gallery look, or a curated gallery wall kit to save time on placement. Add a Wall Sign to label a travel chapter, a family name, or a special quote. Sizes range from square 8 inches to large rectangles, so you can scale a coffee table book favorite into a striking centerpiece.
Mixtiles Photo Books let you create a sleek, printed album with a matte hardcover and silky pages. The current design places one photo per page, which complements the hero‑forward approach in this guide. Reorder, crop, and create a simple, modern keepsake for Mother’s Day gifts, baby albums, or a portfolio you keep on your coffee table. Build your wall gallery and your book together so the same story lives on your shelf and on your walls.
The best photo book layouts are simple and intentional. Lead each chapter with a hero image, pace the story with clean duos and orderly grids, and keep captions short. Use the layout recipes above to move quickly while keeping a refined style. Then elevate your favorites at scale. Turn the top images from your book into a Mixtiles wall so the heart of your album greets you every time you walk into the room.
Ready to create? Turn your best spreads into a daily view gallery with our custom canvas prints. Then, order your matching photo books for a complete story. Get a polished look in minutes with peel and stick frames.
Frequently Asked Questions
How many photos per spread deliver the best results?
One to two images feel iconic and calm, three to four build a scene with clear pacing, five to nine create lively energy. Choose based on moment intensity, keep spacing and margins consistent, and let a single anchor image lead when sets feel busy.
Can I mix portrait and landscape images on one page?
Yes, but do it intentionally. Pair two images with aligned horizons for balance, or use an asymmetric collage with one larger anchor and smaller accents. Avoid mixed orientations inside tight grids, maintain equal spacing, and keep key details clear of the gutter.
What common layout mistakes should I avoid?
Overcrowding pages, inconsistent margins, and captions that fight the photos reduce impact. Avoid placing faces near the spine, mixing too many styles in one spread, or uneven horizons. Use white space generously, keep typography quiet, and maintain a cohesive color edit.
Do I need a layflat album for panoramic effects?
Layflat books handle single wide images cleanly. With standard bindings, skip full-spread photos that cross the gutter. Simulate width by arranging three or four aligned frames across a spread, or keep panoramas on one page with generous margins for safety.
Be the first to know — deals, news & decor ideas.
By clicking you agree to the Terms of Use & Privacy Policy