
Retro Game Room Decor: Create Your Nostalgic Space
Key Takeaways
- Pick one era or franchise to anchor your retro game room decor so colors, wall art, and layout feel cohesive;
- Create a statement gallery with Mixtiles: printing box art, pixel art, and screenshots as adhesive, repositionable wall frames;
- Balance style and playability with glare-free lighting, comfortable seating, smart storage, and cable management;
- Follow a simple weekend plan and rotate tiles to keep your video game room fresh as your collection grows.
Retro game room decor blends nostalgia with comfort, from neon arcade energy to cozy cartridge collections. The fastest transformation happens on your wall. Mixtiles makes it easy to turn video games, screenshots, and fan photos into gaming wall art that installs without nails. In this guide, you will choose a theme, design a gallery, add lighting and furniture, and finish with a quick step-by-step you can complete this weekend.
Bring your retro wall to life. Print your favorite game art as lightweight, adhesive photo tiles or explore our full collection of wall arts. Open the Mixtiles app or visit Mixtiles.com to start.
What’s the best way to pick a theme for retro game room decor?
Start with a single nostalgia anchor, then match colors and layout to that choice. This keeps your gaming room focused, whether you love 8-bit sprites, 16-bit heroes, or arcade cabinets.
Use the quick framework below to lock your theme before you order prints:
- Choose your era or franchise, for example NES, SNES, Sega, PlayStation, Mario, Sonic, or Street Fighter;
- Select a palette to guide LEDs and accents, for example blue for Sega, gray and red for NES, or neon for arcades;
- Decide on a wall style, for example a crisp grid, a collage, or museum-style rows that echo marquee and cartridge displays.
Which eras translate best to decor?
Eight and sixteen bit eras suit bold pixel art, controller silhouettes, and cartridge box covers. Thirty two and sixty four bit consoles favor character renders and geometric layouts that nod to early 3D design. Arcade-inspired game rooms shine with faux marquees, a retro sign, and LED light accents that frame the gaming wall like a cabinet.
How do you design a retro gallery wall that looks intentional?
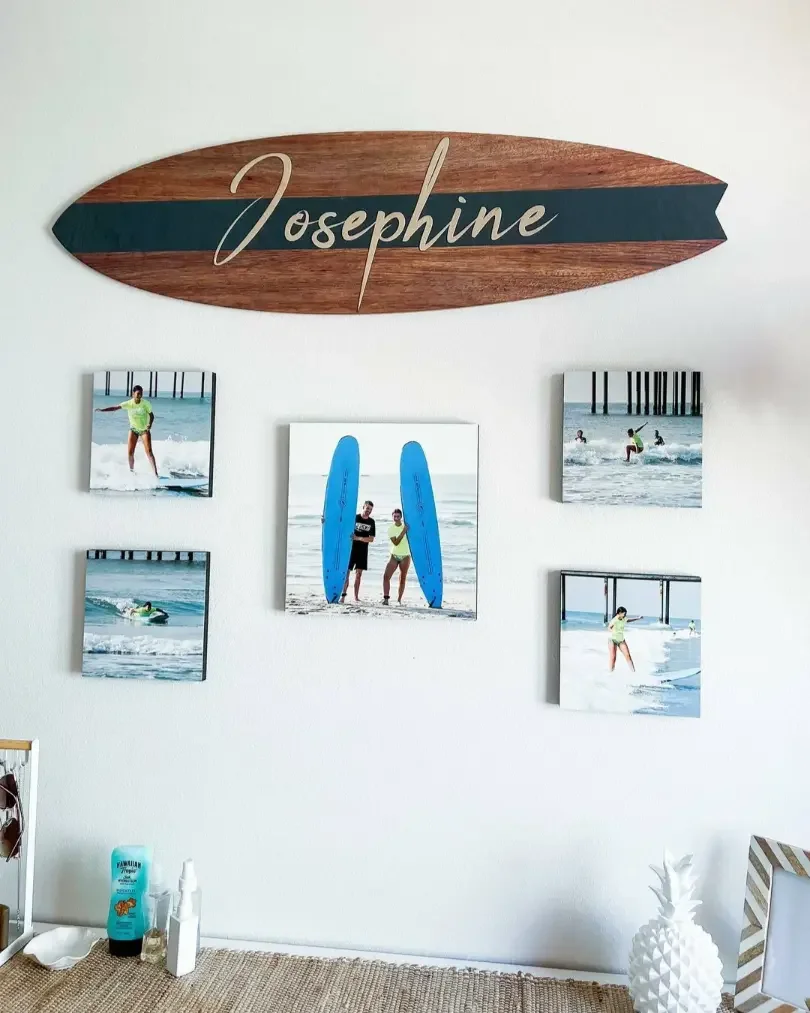
Plan a clean grid or balanced collage, then keep tile centers near eye level. Curate a mix of box covers, maps, title screens, and your own gaming photos for personal flair that beats mass posters. For extra help, check our guide on how to arrange art on a wall and confirm perfect placement with tips on how high to hang art on a wall.
Why use Mixtiles for retro game room walls?
Mixtiles stick and re-stick, so you get a zero-damage gallery walls that is perfect for renters and evolving game rooms. Tiles are lightweight, printed on matte photo paper without glass, and available as framed, frameless, wide frame, or canvas prints. You can order Gallery Wall Kits for foolproof layouts or mix sizes in one order for custom design. If glare appears, simply lift and reposition each tile. Cleaning is easy with a dry, soft cloth.
What images work best when printed as Mixtiles?
High resolution scans of box art and manuals are ideal. Title screens, pixel wallpapers, and map screens become striking gaming wall art. Include your photos from conventions, cosplay, speedrun milestones, or your console collection to turn decor for game spaces into a true gamer room story. Add a Wall Sign for a playful “Game Over” or “Press Start” centerpiece.
How should you light a retro game room without glare?
Use bias lighting behind the TV or monitor and place LED strips behind shelves to reduce reflections on wall art. Keep brightness moderate, set color to match your theme, and avoid aiming lamps directly at frames.
Any quick wins for that “arcade” glow?
Backlight the gallery perimeter with LED strips to float your gaming wall. Add a neon-style sign in your palette, for example a blue ring for Sega fans. Set a warm white scene for living room movie nights, then swap to saturated colors for your gaming setup.
What furniture and storage sell the retro vibe and keep things tidy?

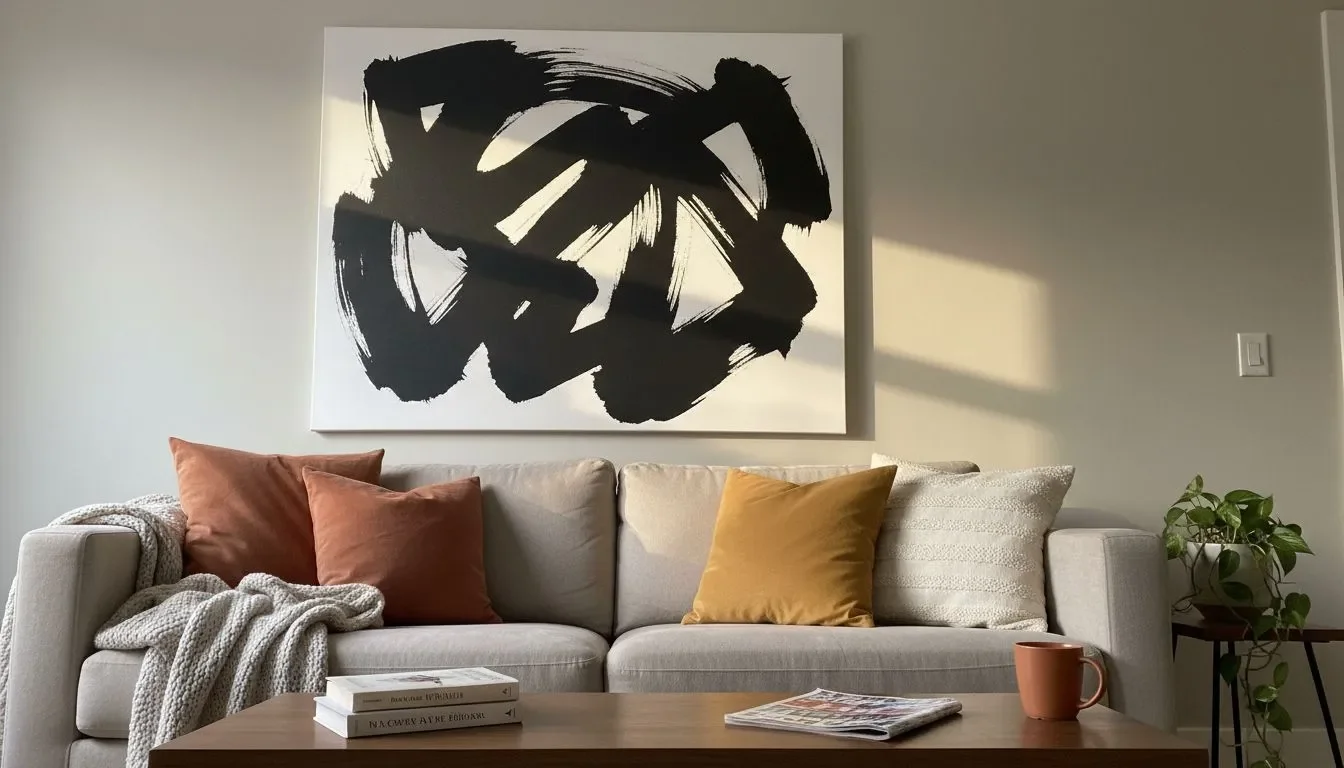
Choose low seating that faces the gallery wall so the game consoles, controllers, and wall art read as one setup. A slim media bench with hidden cable channels keeps your video game console area clean. Use a shelf or shadow box to display cartridges and handhelds while Mixtiles handles the large room wall art above.
Do you need acoustic treatment?
You do not need studio panels. Soft rugs, curtains, and a few strategically placed tiles help break up reflections so chiptunes and retro games sound fuller. If you add panels, place them behind the listening spot and keep your design balanced.
Turn your favorite box art into a statement wall. Order custom canvas pictures in under 10 minutes and design your grid right from your phone.
How do you style small rooms, rentals, or multipurpose spaces?
Focus on one hero wall and keep layouts tight. Mixtiles’ adhesive and magnetic mounting options work on painted walls and many textures, so renters can build a video game room without nails and move tiles cleanly later. Renters can follow this tutorial on how to hang wall art without nails to protect walls while you experiment with your layout.
Layout templates for tight spaces
|
Space |
Suggested grid |
Common Mixtiles size |
Fits wall width |
|---|---|---|---|
|
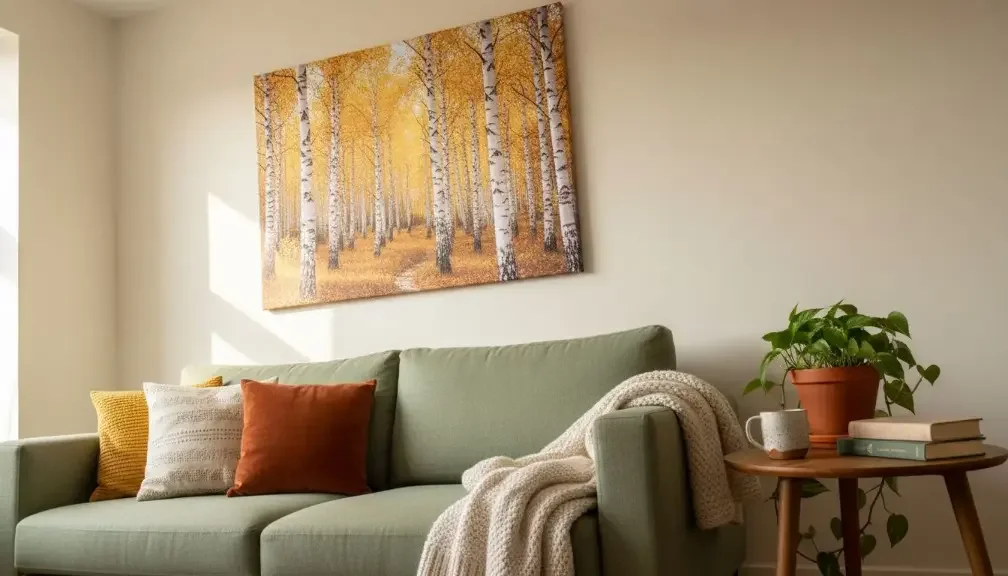
Over a sofa or console table |
Two rows of 3 to 4 tiles |
8.4 × 8.4 in, 21.35 × 21.35 cm |
48 to 72 in, 122 to 183 cm |
|
Beside a bookshelf or monitor |
Vertical stack of 3 to 5 tiles |
12.44 × 12.44 in, 31.6 × 31.6 cm |
20 to 28 in, 51 to 71 cm |
|
Corner wrap gallery |
Two short rows meeting at 90° |
8.4 × 11 in, 21.35 × 27.94 cm |
36 to 60 in per wall, 91 to 152 cm |
Not sure which tile size will fill your space best? Use our wall art size guide to choose proportions that fit over sofas, desks, and narrow nooks.
What’s a simple step-by-step to finish your retro game room decor this weekend?
Follow these actions from theme to install. You will end with a complete gaming wall, tidy cables, and a comfortable gaming room setup.
- Pick your era and palette, then note two or three accent colors to use across LEDs and accessories;
- Gather 12 to 18 images, for example box art, screenshots, and personal photos that match your room ideas;
- Design a Mixtiles grid in the app or website. Choose frame style, border, and preview spacing, then place your order;
- Install LED light strips and set a starting scene that complements your blue, red, or neon theme;
- Mount Mixtiles. Start from the centerline at eye height on your game room wall, then re-stick to perfect alignment;
- Add seating, a shelf or shadow box for cartridges, and finish with a quick cable management pass.
Budget-friendly tips
- Prioritize the wall first, since a gallery provides the best visual impact for the least cost;
- Mix official art with your own gameplay shots to reduce art licensing spend while boosting personality;
- Thrift storage furniture, then invest in quality lighting and a Wall Sign to polish the final design.
How can you keep your decor fresh as your collection grows?
Rotate tiles by franchise or season so your gamer room always feels new. Add a top row for current favorites and archive older video games on a side wall. Because Mixtiles re-stick cleanly on most wall types, you can reconfigure layouts as you upgrade game consoles or add retro gaming systems.
Retro game room decor shines when you lead with a focused theme and a statement gallery that tells your story. Use Mixtiles to turn box art, title screens, and your own images into flexible gaming wall art, then layer lighting, storage, and seating for a video game room that performs as good as it looks.
Ready to press start on your retro wall? Build a no-nails photo gallery wall today. Open the Mixtiles app or head to Mixtiles.com to design your perfect layout.
Frequently Asked Questions
What should I include in a retro game room?
Start with vintage consoles like NES, SNES, or Genesis, plus a comfy sofa and a large TV or monitor. Add a mini arcade cabinet or joystick setup, smart storage for cartridges, glare-free lighting, and a statement wall gallery using Mixtiles prints of box art and screenshots.
How do I build a retro gaming room setup?
Pick a theme and palette, then display a few hero consoles or an arcade machine. Design a clean gallery wall with Mixtiles, printing box covers, pixel art, and title screens. Add bias lighting, tidy cables, comfortable seating, and a slim media bench for a cohesive, playable setup.
What retro game room trends are popular right now?
Current retro trends blend eras and formats. Think arcade accents with modern seating, neon-style LEDs, and gallery walls of pixel art or cartridge covers. Minimal, hidden storage keeps focus on the wall. Renters favor adhesive, repositionable frames like Mixtiles for flexible layouts that evolve with collections.
How can I make a cool gaming room in a small space?
Use multipurpose furniture like a storage bench, keep natural light, and choose a tight grid gallery above the console area. Add bias lighting, vertical shelves, and strict cable management. Print small sets with Mixtiles, then rotate images seasonally so your space stays fresh without adding clutter.
Be the first to know — deals, news & decor ideas.
By clicking you agree to the Terms of Use & Privacy Policy