
Handmade Craft Ideas for Home Decor: Easy & Stylish
Key Takeaways
- Pick a style, color palette, and room goal first, then choose handmade craft ideas for home decor that fit your space and skill level;
- Blend quick wins like garlands, painted pots, and banners with high-impact wall art to refresh any room on a budget;
- Turn photos into decor by creating a flexible gallery using Mixtiles peel-and-stick frames, then mix in handmade pieces for a custom look;
- Plan, place, and rotate seasonally. Repositionable photo tiles make it easy to evolve your decor without tools or wall damage.
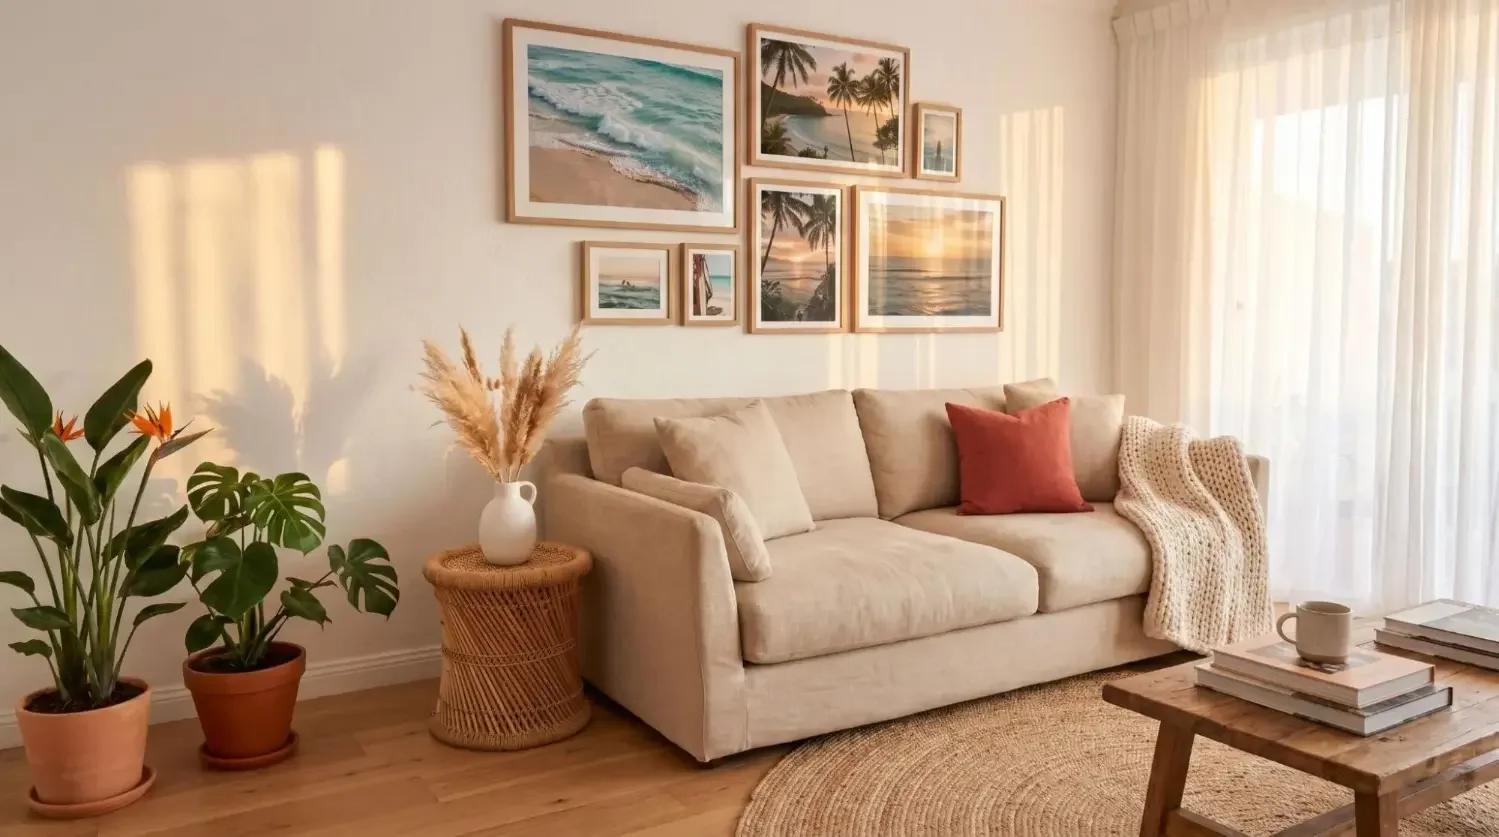
If your walls feel a little bare, or your shelves need personality, handmade projects can transform your home without a big budget. In this guide, you will find beginner-friendly, stylish craft ideas that look designer, plus tips for choosing materials, colors, and layouts. You will also learn how to turn favorite photos into wall art with Mixtiles peel-and-stick frames so you can create a gallery you love, and easily update it anytime.
Bring your favorite memories to your walls in minutes. Upload photos to create your custom photo tiles, choose your frame style, and arrange your gallery. No nails or tools needed.
What are the best beginner-friendly handmade craft ideas for home decor?
The best easy DIY projects use simple materials, take under an afternoon, and deliver a beautiful upgrade to your room. Start small, then layer pieces on your wall or shelves so your decor looks intentional and cohesive.
No-sew fabric wall banners
Cut canvas or a fabric remnant into a pennant, fold over a dowel with fabric glue, then hang with twine. Add a stencil phrase or paper letters for a unique message. This craft is lightweight for easy hanging and looks great next to photo art.
Painted terracotta pots, ombre or color-block
Use painter’s tape to mask stripes or a diagonal, then brush on acrylics and a matte sealer. Repeat one accent hue from your art so the whole wall and shelf vignette feels designed, not random.
Upcycled glass vases wrapped in twine or cane webbing
Clean jars work like a charm. Wrap with twine, ribbon, or a strip of cane webbing using hot glue. The texture adds warmth to a living room console and pairs well with natural wood frames.
DIY washi tape frames for art prints
Outline small prints or postcards with washi tape. Create a crisp border or playful pattern. This is renter friendly since you can remove and replace patterns as your decor ideas evolve.
How can you turn photos into handmade wall art?
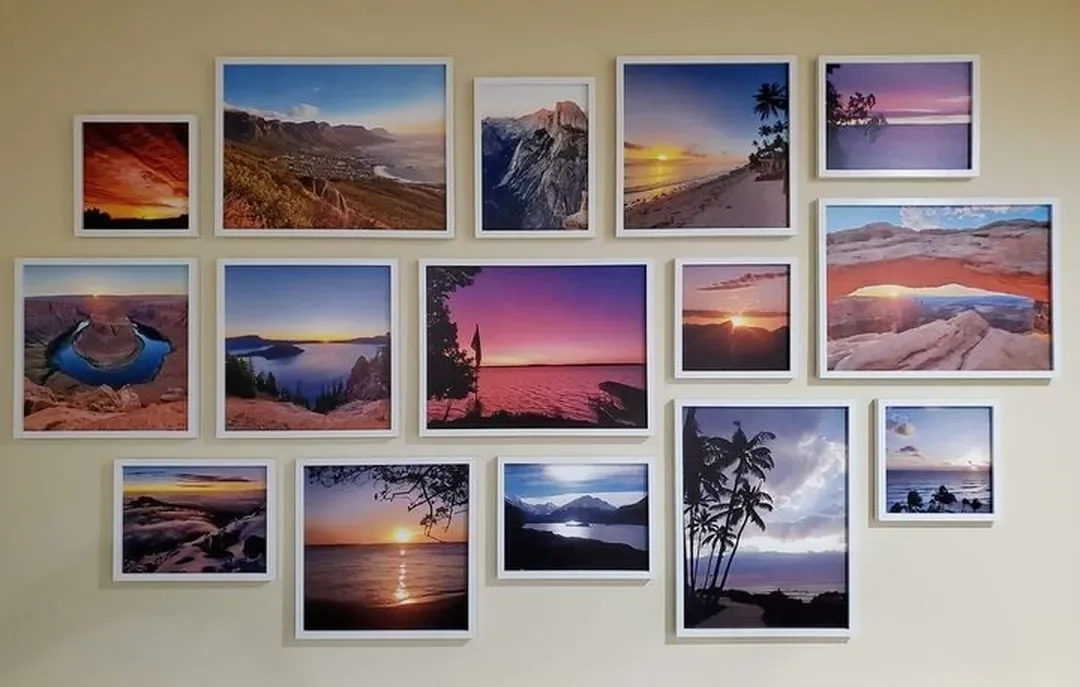
Photos make the most meaningful DIY home decor. Choose a theme like family, travel, or black-and-white. Then print with Mixtiles so you can arrange and re-arrange your wall without tools.
|
Mixtiles Option |
Best For |
Mounting |
Popular Sizes, in and cm |
|---|---|---|---|
|
Photo Tiles |
Fast gallery walls and easy DIY home decor |
Stick and restick adhesive or magnet system |
8 × 8 in, 20.32 × 20.32 cm; 12 × 12 in, 30.48 × 30.48 cm. |
|
Bold color, portraits, statement walls |
Peel-and-stick or magnets |
12 × 16 in, 30.48 × 40.64 cm; 20 × 27 in, 50.80 × 68.58 cm. |
|
|
Gallery Wall Kits |
Curated layouts and fast design decisions |
Same easy hanging system |
Varies by set, templates included. |
|
Wall Signs |
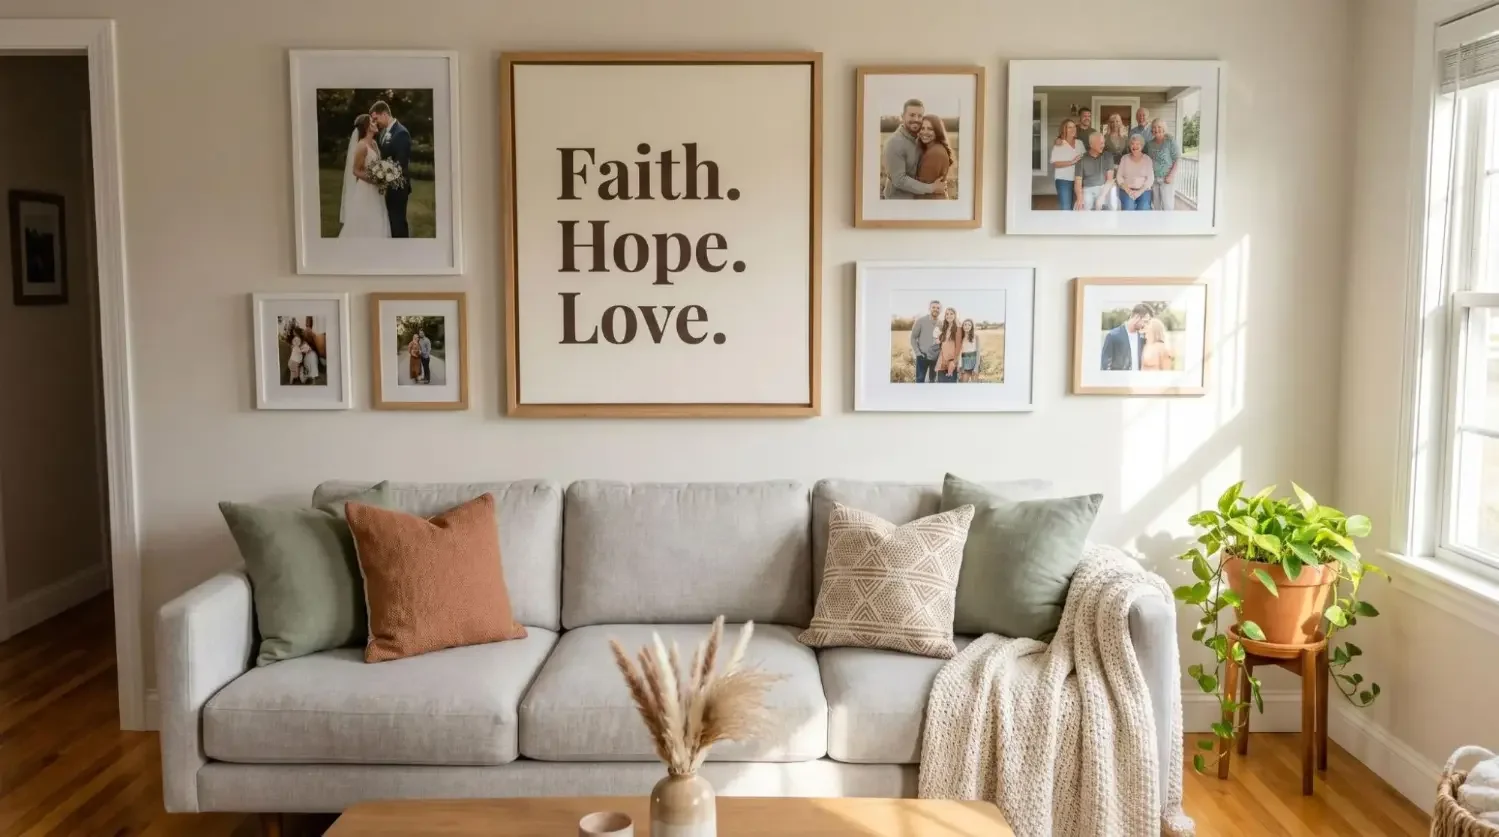
Quotes and greetings to anchor a display |
Stick and restick |
25.2 × 8.4 in, 64 × 21.35 cm. |
Not sure which dimensions fit your space? Use our wall art size guide to pick proportions that feel balanced.
Photo tiles with peel-and-stick frames, fastest and renter friendly
Pick 6 to 12 photos with a shared theme, upload to Mixtiles, choose a frame color, then arrange in a grid or a neat row. Installation takes minutes, and you can move tiles as you try a new layout or add fresh memories. This is perfect if you want to hang wall art without nails.
Mixed-media photo mats
Paint or stamp a simple border on plain mats, then frame your prints. The handmade mat adds a craft touch while the clean frame keeps the look modern.
Clothespin photo garland
String twine across a shelf or mantel and clip prints with mini clothespins. Add eucalyptus or paper shapes for seasonal DIY crafts you can change in easy steps.
Photo collage shadow box
Layer ticket stubs, pressed flowers, and notes around a central print. This memory box turns keepsakes into art and looks great beside your tiles.
What budget-friendly crafts can refresh a room in under an hour?
Quick craft projects create a big visual shift with minimal time. Aim for one canvas, one shelf accent, and one wall update to make a DIY refresh feel complete.
Painter’s tape geometric wall art
Mask triangles or stripes on a canvas, paint two neutrals and one accent color, then peel. Hang it near your photo tiles to repeat colors and tie the room together.
Dried flower mini wreaths
Wrap small embroidery hoops with dried stems and floral wire. Hang a set of three at varied heights for depth and a soft, beautiful look.
Stenciled pillow covers
Use fabric paint and a simple stencil. Echo the colors from your wall art so the sofa reads as a cohesive design.
Middle CTA: Ready to elevate your DIY wall with zero tools? Design beautiful gallery walls in the Mixtiles app, preview layouts, and get them delivered to your door. Reposition your art anytime.
Which seasonal handmade decor ideas make your home feel fresh year-round?
Rotate small, made-at-home pieces with your tiles to keep walls lively. Seasonal swaps let your space look new without a full makeover.
- Spring: Try pressed flower frames, a pastel banner over a console, and bright planters near a fresh photo grid.
- Summer: Create a beach-find frame with shells from the craft store, pair with citrus-toned pots, and add travel photos.
- Fall: Leaf print art on kraft paper, cozy yarn tassel garlands, and warm-toned portraits make the room feel inviting.
- Winter: Paper star garlands and black-and-white photo tiles create a calm, timeless display for living room walls.
How do you choose a style for your DIY decor?
Pick materials and colors that match your room and photos. Repeat the same textures and hues at least three times to get a polished design.
Boho

Use rattan, macrame, and cane webbing with warm earthy tones and plants. Pair with wood-frame Mixtiles in an organic layout.
Modern

Lean into metal, glass, and color-blocking. Choose high-contrast photos and hang tiles in a clean grid for a crisp look.
Farmhouse

Try twine, linen, and thrifted finds in muted colors. Natural wood accents soften the wall and make a cozy home feel.
What tools and materials should go in a small home-craft kit?
A simple kit helps you start and finish DIY projects without extra trips to the store. Stock these basics and you can make a DIY update any weekend.
- Cutting mat, craft knife, painter’s tape, and washi tape;
- Hot glue gun with sticks, fabric glue, and basic brushes;
- Acrylic and fabric paints with matte sealer;
- Twine, floral wire, ribbon, spare canvases, frames or mats, embroidery hoops.
How do you plan a gallery wall that blends handmade pieces and photos?
Start with a focal tile cluster, map spacing on the floor, mix textures and shapes, then install and iterate. Mixtiles make hanging easy and damage free. For step-by-step layout options, see our guide on how to arrange art on a wall.
- Start with a focal point: Anchor your wall with a Mixtiles grid or a large canvas. This creates clarity for the rest of the design.
- Map your layout: Place items on the floor before hanging. Check spacing and how colors repeat so the final wall feels intentional; for exact measurements, learn how high to hang art on a wall.
- Mix media for depth: Combine photo tiles with a fabric banner, a tiny wreath, and a painted canvas. Repeat a material at least three times for cohesion.
- Install and iterate: Stick your tiles first, then add lightweight handmade items. You can adjust easily as you add a new project or seasonal piece.
Where should you place handmade decor around your home?
Place art where you will enjoy it most. Think about sightlines from your entry and sofa to decide what goes on each wall.
- Entryway: A small tile trio above a narrow shelf sets the tone. Add a key bowl and a mini banner to welcome guests at the front door.
- Living room: Try a large photo gallery wall flanked by fabric banners or wreaths. It makes a strong focal point for movie nights and hosting.
- Bedroom: A soft palette gallery above the headboard with stenciled pillows creates a calm retreat you will love.
- Kitchen: Clip a mini garland on open shelves and add herb print tiles. Keep pieces easy to wipe clean.
- Home office: Hang a motivation banner and a row of black-and-white tiles behind your desk. This background looks great on calls.
- Bathroom: Use a dried flower frame and coastal prints. Choose materials that handle moisture well.
Handmade decor does not have to be complicated or costly. With a few smart materials, a cohesive palette, and the right mix of quick projects and photo-focused wall art, you can build a home that evolves with your life. Use flexible pieces like Mixtiles to anchor your gallery, then rotate seasonal crafts to keep it feeling fresh. It is the easiest way to make your walls look designed and to update them whenever inspiration strikes.
Turn your favorite photos into movable wall art today. Visit the Mixtiles website to transform your images into stunning personalized canvas prints or create a gallery you can rearrange anytime
Frequently Asked Questions
What are the cheapest handmade craft ideas that still look high-end?
Start with low-cost materials like paper, paint, thrifted frames, and fabric scraps. Try painted terracotta pots, washi tape borders, scrap-fabric banners, and printable art. Stick to two coordinating colors and one metal finish. Add texture, it makes inexpensive projects look polished.
How do I pick a color palette that matches my existing decor?
Choose a palette from something fixed, a rug, bedding, or artwork. Pull two neutrals and one accent. Use the 60-30-10 guideline across walls, decor, and small accessories. Make a mini sample board to test finishes and lighting before committing.
What handmade projects are renter friendly and avoid wall damage?
Prioritize lightweight pieces and removable mounting. Use washi tape frames, fabric banners on temporary hooks, paper garlands, and freestanding decor on shelves. Choose adhesives rated for painted walls, clean surfaces first, and remove slowly. Keep items under 2 pounds to reduce risk.
What common mistakes should I avoid with handmade home decor?
Skipping prep causes peeling and rough finishes. Clean, sand if needed, and prime. Ignoring scale leads to clutter, vary sizes and leave negative space. Plan layouts on the floor, measure spacing, test colors in daylight, and seal porous surfaces for durability.
Be the first to know — deals, news & decor ideas.
By clicking you agree to the Terms of Use & Privacy Policy