
DIY Farmhouse Wall Decor: Create Your Cozy Space Today
Key Takeaways
- Understand the essentials of farmhouse wall decor and how to apply them to any room;
- Try quick, beginner-friendly DIY projects that use simple wood, prints, and signs;
- Create a no-nail farmhouse gallery wall using Mixtiles’ adhesive, repositionable frames;
- Use pro tips on sizing, layout, and styling to make your wall art feel curated.
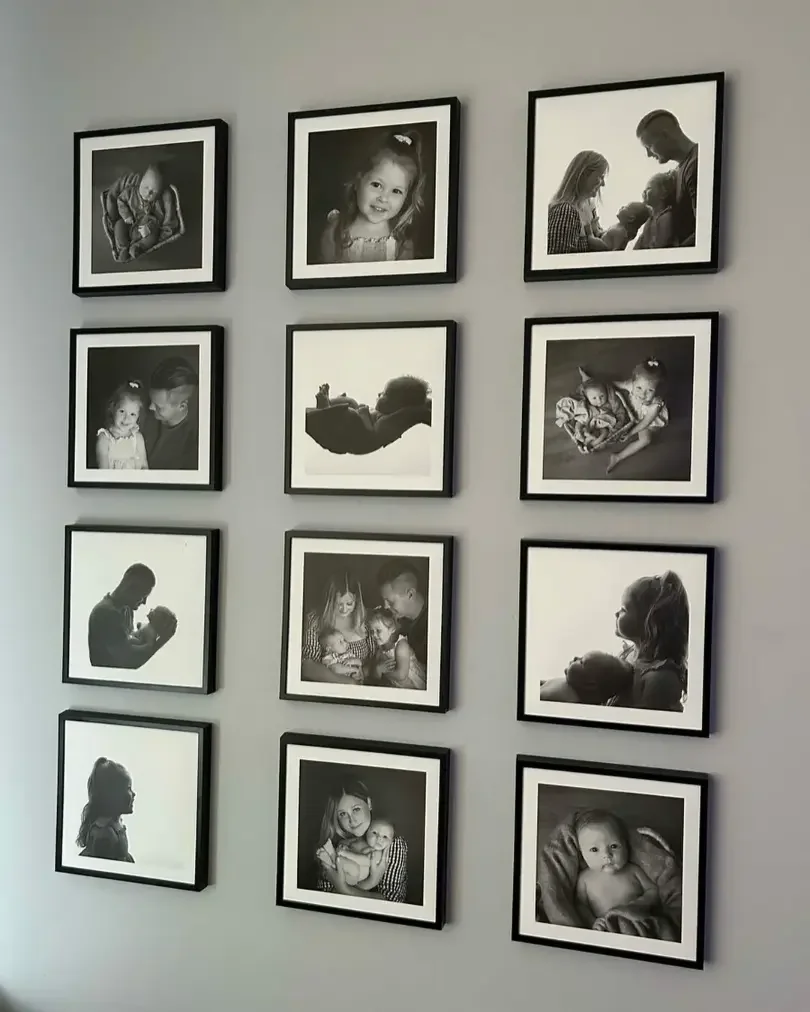
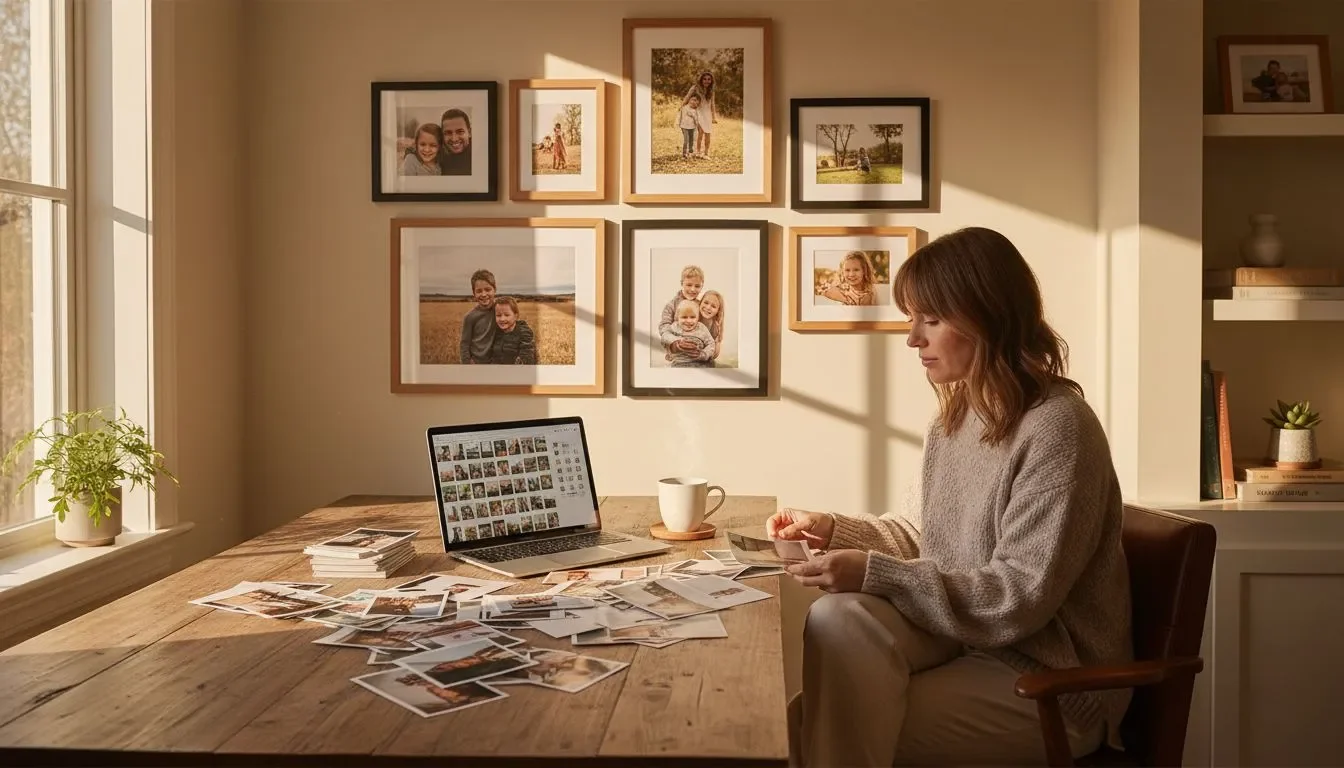
Farmhouse wall decor blends warmth, texture, and story. Think weathered wood, vintage typography, soft neutrals, and meaningful wall art. If you love the look and want renter-friendly, budget-savvy ideas, you are in the right place. Below you will find simple DIY farmhouse wall decor ideas and a no-nail gallery wall you can build with Mixtiles. Our lightweight, adhesive photo tiles let you create and rearrange in minutes. No tools, no holes, no stress.
Create your farmhouse gallery wall now. Upload your photos to create custom photo tiles, pick a frame style, and get ready-to-hang art delivered to your door.
What makes farmhouse wall decor feel fresh?
Fresh farmhouse style uses a calm palette, rustic textures, and personal photos. Mix warm whites with wood and matte black accents, then add a bit of greenery for balance. Personal pieces of art, like a recipe card photo or black and white family portraits, keep your wall decor authentic and timeless. For even more style cues, browse our top farmhouse home decor ideas.
Which DIY farmhouse wall decor projects are easiest for beginners?
Start with simple DIY projects that use thrift finds and basic wood cuts. These ideas fit a rustic farmhouse look and pair beautifully with Mixtiles.
1) Oversized “Market” or “Gather” sign
Use a pre-cut board or a reclaimed window frame, stencil or hand-letter a word, then lightly distress for a rustic finish. Hang it to crown your farmhouse wall art.
2) Botanical print trio
Print vintage botanicals, mount on cardstock, and frame. Mix sizes for charm and align them near your Mixtiles grid to show an intentional style.
3) Mason jar sconce shelf
Attach a jar to a small board with a hook, then add faux eucalyptus. It is an easy accent that brings texture to a living room wall.
4) Buffalo check accent plank
Paint a simple grid on scrap wood, then add a small laser-cut word like Home or Joy. This brings pattern into an otherwise calm space.
5) Mini wreath and sign combo
Layer a small wreath over a shiplap-look plaque using twine. It pairs well with a row of Mixtiles to create a cozy farmhouse wall.
How do you create a farm-fresh gallery wall without nails?
Use Mixtiles’ adhesive, repositionable frames. You can stick, step back, and restick until your wall art looks perfect, so the process is easy and renter friendly.
- Upload and select: Open the Mixtiles app or website, choose photos of family, pets, barns, fields, or a favorite sign;
- Choose styles: Pick clean white, wood-look, or black frames to match rustic farmhouse decor;
- Plan on the floor: Arrange tiles on the ground to test spacing and order before sticking;
- Mount and adjust: Peel, place on a clean wall, press for a few seconds, then nudge until the grid is level;
- Mix accents: Add a DIY wood piece or window frame nearby to complete the farmhouse wall decor look.
New to damage-free hanging? Learn exactly how to hang wall art without nails with our step-by-step tutorial.
If you are between sizes, our wall art size guide explains ideal widths for sofas, beds, entryways, and more.
|
Room |
Suggested Tile or Print Sizes (in) |
Metric (cm) |
|---|---|---|
|
Entryway |
8 × 8 or 8 × 11 grid of 4–6 tiles |
20.32 × 20.32 or 20.32 × 27.94 |
|
Living room |
30.48 × 30.48, 30.48 × 40.64, 50.80 × 68.58 |
|
|
Hallway |
Vertical stack of 8 × 11 or 12 × 16 |
20.32 × 27.94 or 30.48 × 40.64 |
|
Bedroom |
9-tile grid of 8 × 8 above the bed |
9-tile grid of 20.32 × 20.32 |
Try Mixtiles for a no-stress farmhouse look. Explore our gallery walls for inspiration or choose a Gallery Wall Kit for a ready-made layout. Stick and restick until it is perfect.
What frame finishes and photo edits look most “farmhouse”?
Choose white or cream frames for airy simplicity, wood-look for warmth, and black for crisp contrast. For photos, use soft, warm filtering and natural light. A few black and white prints add a classic rhythm. Pair Mixtiles with a hand-lettered sign and a small wreath for layered texture.
Best frame finishes

White or cream frames keep the look light. Wood-look frames add rustic charm. Black frames sharpen vintage typography and modern grids.
Photo styling tips

Lightly desaturate colors, embrace natural window light, and keep tones consistent. Convert a couple of images to black and white to ground the set.
Mix with DIY pieces

Blend tiles with a thrifted window frame, a wood plaque, or a small sign. The mix creates a curated piece of art that feels collected, not staged.
Where should you use DIY farmhouse wall decor around the house?
You can use it anywhere. Start small in a hallway or go bold in the living room. The key is spacing and balance.
- Entryway: A 2 × 3 Mixtiles grid beside a Welcome sign sets the tone the moment guests step in.
- Living room: Create a top focal wall behind the sofa with a large grid, then add a wood ledge or a rustic farmhouse plaque.
- Kitchen: Show a favorite recipe card, perhaps from a custom recipe photo book, coffee moments, or fall harvest photos as wall art, then style a mini herb shelf below.
- Hallway: Use a slim vertical stack to guide the eye down the space. Add a small wreath for texture.
- Laundry or bath: Pair playful typography with floral tiles. Keep the palette calm so the room feels fresh.
- Nursery or kids’ room: Soft animal prints and name tiles look sweet, and you can rearrange as they grow.
How do you plan the layout so it looks pro?
Start with an anchor tile or sign, keep spacing even, and vary orientation for movement. Step back often to check balance. For visual examples and printable spacing rules, see our guide on how to arrange art on a wall.
- Start with a center anchor: Place your largest tile or a horizontal sign first, then mirror outward for symmetry.
- Keep even spacing: Use 1.5 to 2 inches between tiles for a calm, cohesive farmhouse wall.
- Vary scale and orientation: Mix portrait and landscape tiles. Alternate photos and DIY decor to avoid monotony.
- Test before you commit: Arrange on the floor first. With Mixtiles, you can restick until it clicks.
What budget and tools will you need?
You only need a few basics to make and install everything quickly.
- Materials and tools: Inexpensive frames, sample-size paints, cardstock or photo paper, small brush set, craft glue, twine, faux greenery, a couple of thrifted boards, scissors, measuring tape, a level or leveling app, painter’s tape for guides;
- Mixtiles extras: Photo Tiles, Canvas Prints, Gallery Wall Kits, and Wall Signs, all peel-and-stick or magnetic options that install without nails.
DIY farmhouse wall decor is about texture, warmth, and your story. With a few quick projects and a no-nail photo gallery from Mixtiles, you can refresh any room in an afternoon. Choose cozy neutrals, layer handmade accents with personal photos, and keep layouts simple and balanced. When your style evolves, just restick and refresh your DIY farmhouse wall decor.
Ready to bring farmhouse charm to your walls? Start by exploring our beautiful canvas prints or design your own unique wall arts. Get damage-free, ready-to-stick decor delivered to your door.
Frequently Asked Questions
What defines DIY farmhouse wall decor?
Farmhouse style blends warm neutrals, natural wood, matte black accents, and vintage-inspired elements like typography and botanicals. Think layered textures, light distressing, and personal photos. Keep the palette calm, add greenery, and embrace a collected look that feels cozy and authentic.
How can I hang farmhouse decor without nails?
Use removable adhesive strips, peel-and-stick frames, or small removable hooks. Clean the wall, let it dry, then press firmly for the recommended time. Test weight ratings, avoid heavy pieces on humid walls, and map layouts with painter’s tape before sticking.
What quick, budget-friendly projects can I try?
Paint and lightly distress thrifted frames, print vintage botanicals, make a simple word sign from scrap wood, add a mason jar sconce with faux greens, or craft a mini wreath on a shiplap-look plaque. Use sample paints, cardstock, and twine to save.
How do I pick sizes and plan a cohesive layout?
Choose an anchor piece, then build outward with even spacing of 1.5 to 2 inches. Aim for a grouping width about two thirds of the furniture below. Keep eye level near 57 inches, align top or center lines, and test with paper templates first.
Be the first to know — deals, news & decor ideas.
By clicking you agree to the Terms of Use & Privacy Policy