
How to Decorate Walls with Family Photos: Stylish Ideas
Key Takeaways
- Choose a layout that fits your room: a clean grid, a relaxed gallery wall, or one hero picture;
- Create cohesion with consistent spacing, matching frames, and a unified color approach like all black and white or all color;
- Mix candid moments with portraits, and vary scale to add depth without clutter;
- Use Mixtiles adhesive, lightweight, repositionable frames to hang family photos with no nails and no damage.
Wondering how to decorate your walls with family photos without visual chaos? Pick a layout that suits your space, then keep things cohesive with consistent frames and spacing. From a modern grid to a collected gallery wall, or one oversized showstopper, there is a style for every home. With Mixtiles, you upload from your phone, design in minutes, and stick frames directly to the wall. Change your mind later, just move them. Easy home decor that fits real life.
Get started: create your photo gallery wall today, and see how our unique photo walls can transform your space.
Which wall layout fits your room best?
Match layout to wall width and furniture, then aim for even spacing. A grid reads modern, a gallery wall feels collected, and one large family photo creates instant focus.
New to this format? Learn what photo tiles are and why their lightweight, adhesive backing makes layout planning simple.
|
Layout |
Best Room |
Typical Count |
Spacing |
|---|---|---|---|
|
Grid |
Living room, over sofa |
6 to 12 tiles |
2 to 3 inches |
|
Gallery wall |
Hallway or stairs |
8 to 20 tiles |
1.5 to 2.5 inches |
|
Hero photo |
Entry, dining, or bedroom |
1 large print |
Centered |
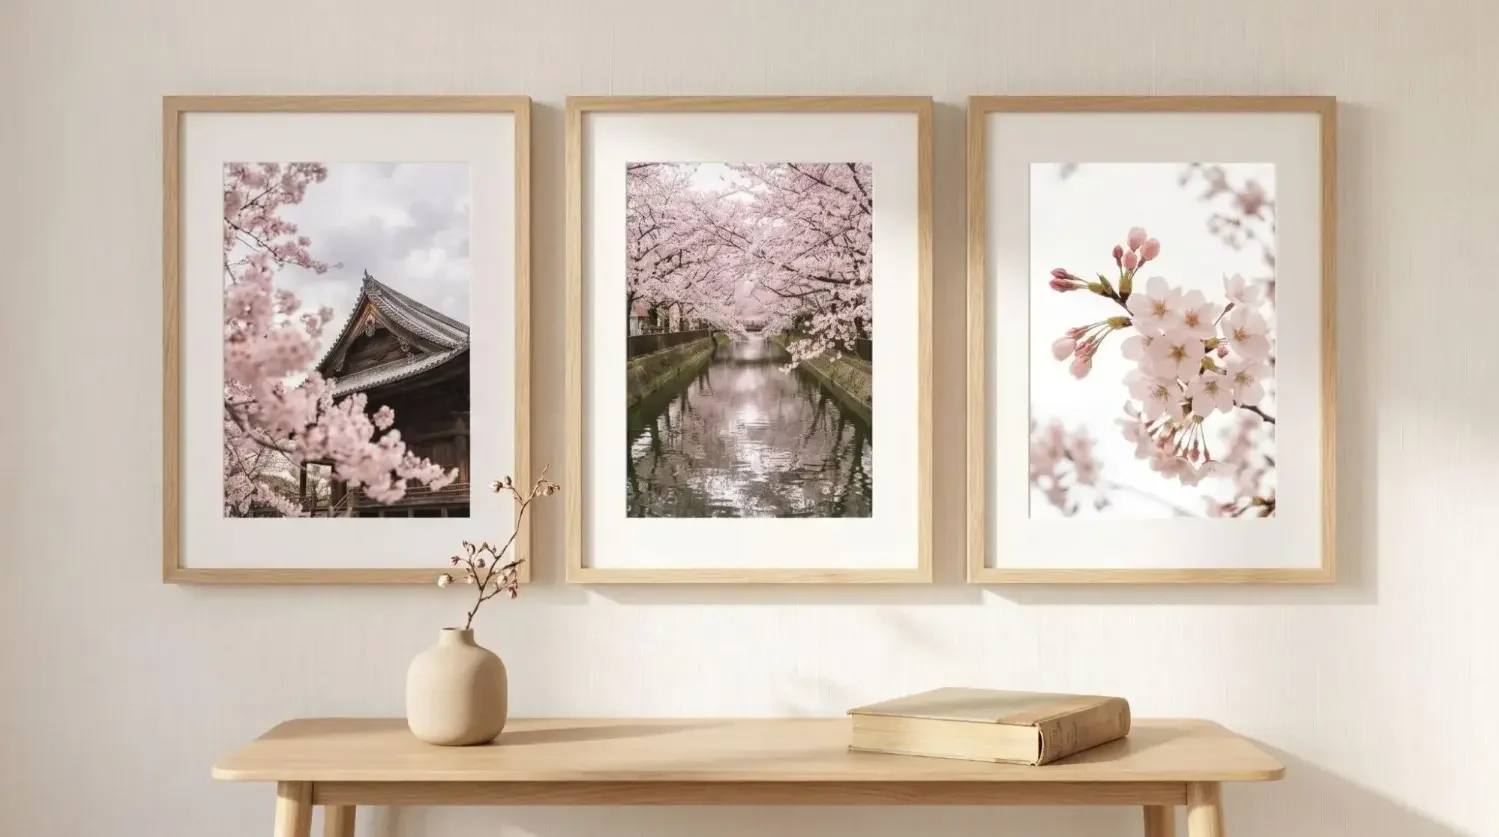
Try a clean grid for a modern, tidy look

Grids shine above sofas, beds, or sideboards. Keep even gaps of about 2 to 3 inches, and consider black and white for a crisp gallery vibe. Mixtiles frames make alignment simple and keep the picture field uniform.
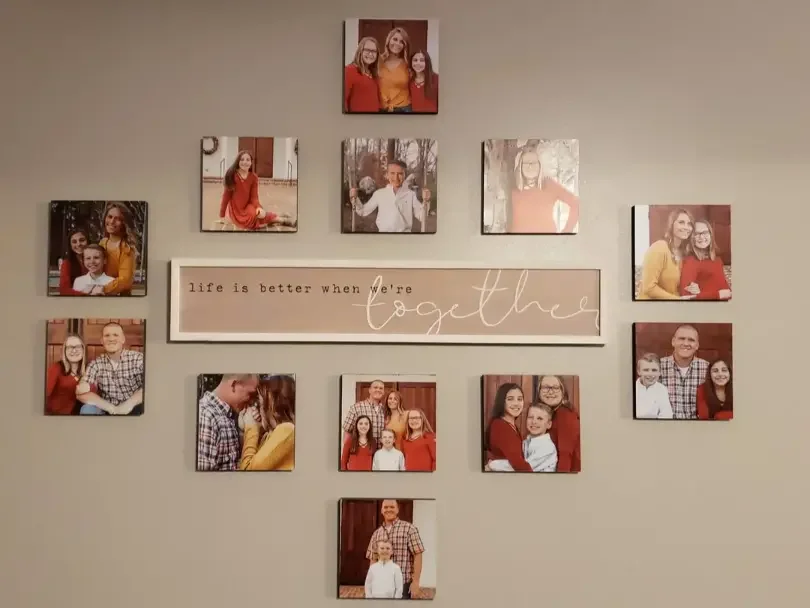
Build a relaxed gallery wall for personality

Mix vertical and horizontal framed photos, travel art, and milestone images. Keep a soft center line so the wall of family pictures feels balanced. Repeat frame colors to connect the story.
Go big with one “hero” photo

Choose a scenic family photo that captures life and scale it up. A large format like a 20x20 canvas print works especially well. Black and white can reduce phone noise and make the frame feel timeless. This one move turns a blank wall into instant wall decor.
How do you choose and edit photos so they feel cohesive?
Curate around a theme like home moments or a season. Balance close-ups with wider shots, then apply one filter style for harmony. All color looks lively, while black and white feels classic and calm for a gallery wall.
Once you have curated a set, follow our step-by-step guide on how to make photo tiles so you can upload, preview, and order in minutes.
What frame and mat choices make photos look designer?
Keep frames consistent in color and thickness for a polished look. Printed mats give pictures breathing room and make small photos feel elevated. Mixtiles offers framed styles and beautiful canvas pictures that you can mix in one order.
Design now: Turn your favorite photos to canvas, or explore our 12x12 canvas prints to build a perfect grid in minutes.
How do you plan and hang without stress (or wall damage)?
Plan first, then hang with Mixtiles adhesive or magnet system for a clean, reusable install.
- Map the layout on the floor, take a quick photo reference;
- Start from the center line, work outward to keep spacing even;
- Stick tiles, press for a few seconds, then adjust until frames look level.
For a deeper walkthrough, read our guide on how to hang photo tiles to get straight lines and consistent spacing every time.
Where should you place family photos for maximum impact?
These placement ideas for family walls help your photos feel intentional and stylish.
- Living room: A centered grid above the sofa grounds the room;
- Hallway or stairs: A flowing gallery wall tells your story over time;
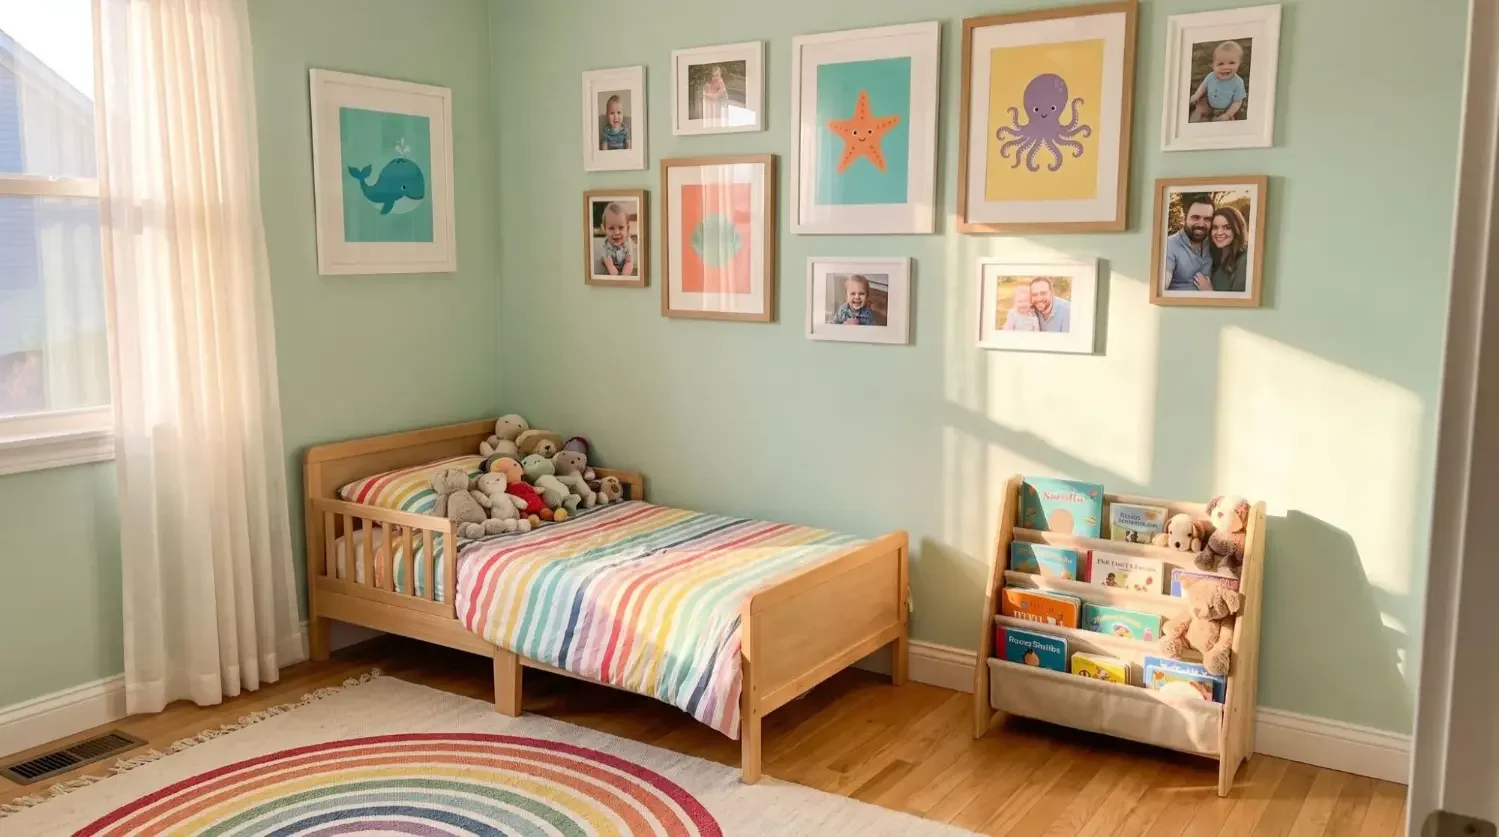
- Bedroom or nursery: Softer moments in a tight cluster feel warm and personal.
Decorating walls with family photos should feel joyful, not fussy. Choose a layout, keep frames cohesive, and let candid pictures lead the design. With Mixtiles, you can hang family photos with no tools, no damage, and restick any time your style evolves.
Ready to create your wall? Upload your photos to create custom photo tiles, or browse our collection of wall arts to build a beautiful, moveable gallery in minutes.
Frequently Asked Questions
How do I choose the right layout for my space?
Consider wall width and anchor furniture. For a symmetrical feel, use a grid over sofas or beds. For storytelling, create a gallery wall along halls or stairs. One oversized hero works for narrow entries. Mock layouts on the floor before hanging.
What photo sizes and spacing work best?
Mix sizes for depth, or keep all the same for a clean look. Maintain even gaps, typically 1.5 to 3 inches. Center artwork at about 57 to 60 inches from the floor. Leave 6 to 10 inches above sofas or headboards.
How can I make different photos feel cohesive?
Pick a theme, such as a vacation, a season, or family milestones. Limit your color palette, using either all color or all black and white. Repeat frame colors or finishes, and apply a consistent edit or filter for harmony.
What are damage-free ways to hang family photos?
Use removable adhesive strips, lightweight adhesive frames, or picture hanging strips rated for your wall type. For heavier pieces, choose small nails into studs, or wall anchors. Always clean the surface first, and test with one frame before committing.
Be the first to know — deals, news & decor ideas.
By clicking you agree to the Terms of Use & Privacy Policy