
How to Hang Art on a Wall: A Foolproof, Renter-Friendly Guide
Key Takeaways
- Hang single pieces around 57–60 inches to center, keep 6–8 inches above furniture, and space frames 3–6 inches apart;
- Choose artwork that matches your wall’s orientation; slightly larger beats too small for a good room composition;
- Use a simple measuring formula for nail height, or go nail‑free with adhesive, repositionable Mixtiles frames;
- Plan layouts with templates, start from center, and double‑check with photos to make sure everything looks level.
Wondering how to hang art on a wall without second guessing every measurement? This guide covers the exact height, spacing, and sizing rules pros use (plus renter-friendly, damage-free ways to build a gallery wall!). Whether you’re hanging one statement piece or a full grid, you’ll discover tips for hanging artwork the easy way and why Mixtiles’ adhesive frames make installation stress‑free.
Ready to hang artwork without nails? Design your Mixtiles photo tiles: peel, stick, and reposition until it’s perfect.
What’s the right height to hang art on a wall?
The best eye level for hanging art is to place the artwork’s center at 57–60 inches from the floor. Over furniture, keep the bottom of the frame 6–8 inches above the top surface so the whole composition reads as one unit.
The 57–60 inch “eye level” rule explained
For most homes, placing the center of a picture at 57–60 inches from the floor feels natural and helps people view the art without craning. If your ceilings are tall or you’re taller than average, 58–60 inches may look best; if you’re building a gallery wall, anchor the collection’s center in that same window. Think of it as a trustworthy starting point; then step back, take a quick photo, and adjust by a little if something feels off in your living room or hallway.
How high above sofas, beds, or mantels should I hang art?
Keep the bottom edge of your frame 6–8 inches above the furniture or mantel. That tight distance connects the art to the piece below, avoiding a floating, disconnected look. As a scale rule, your wall art (or grouping) should span about two‑thirds the width of the furniture, so the proportions feel balanced on both left and right sides.
Quick cheat sheet
|
Guideline |
Measurement |
|---|---|
|
Center height (eye level) from floor; |
57–60 inches; |
|
Clearance above furniture/mantel; |
6–8 inches; |
|
Spacing between multiple frames; |
3–6 inches. |
How big should my art be for my wall?
Match the scale of the piece of art to the shape of your space. Slightly larger works of art usually look intentional, while small pieces on big walls can feel lost unless grouped together.
Match scale and orientation to the wall
Let the wall guide you. On tall, narrow walls, portrait artwork or stacked pieces feel right; on wide walls, go landscape or use a horizontal gallery. If you’re trying to fill a big open wall in a living room, don’t be afraid to go big: your art will actually make the room feel more balanced and finished.
Single statement piece vs. gallery wall
A single piece is straightforward: center it at eye level and relate its width to nearby furniture. For a gallery wall, treat the collection as one piece: pick a central point around 57–60 inches and build out with consistent spacing. Mixtiles Gallery Wall Kits make this easy with curated layouts that come together in minutes.
What tools do I need, and can I skip nails entirely?
You can hang artwork with classic tools, or skip the hammer altogether with adhesive, repositionable frames like Mixtiles; ideal when you don’t want holes in your walls.
Traditional hanging toolkit
You’ll typically use:
- A measuring tape;
- A level;
- A pencil;
- Painter’s tape;
- A hammer;
- Picture hangers.
For heavier frames or wire-backed pieces, pick hardware rated above the artwork’s weight. On drywall, avoid oversize nails near electrical lines; on brick or concrete, masonry anchors may be required. Always check wall type and weight limits before you start.
Nail-free option: adhesive, repositionable frames (Mixtiles)
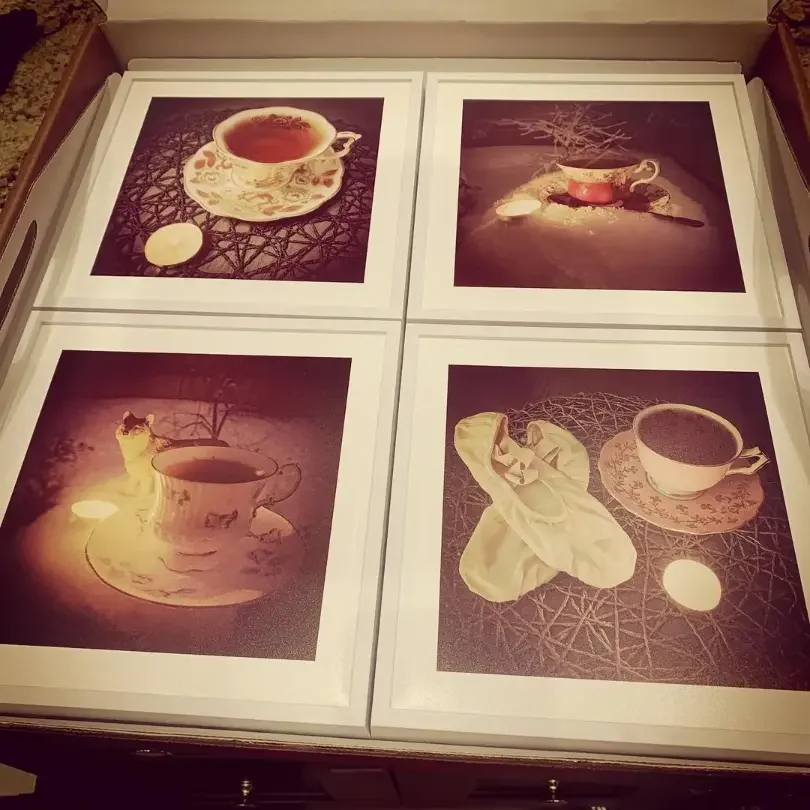
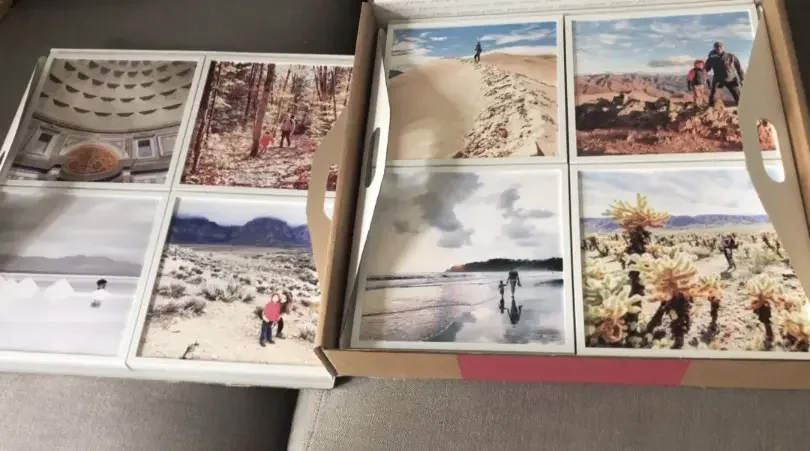
Mixtiles Photo Tiles and Canvas Prints mount with peel‑and‑stick or magnetic options, so you can hang art without tools, wire, or damage. They’re lightweight, easy to move, and perfect for renters who want a clean, level gallery wall fast. Works best on smooth, painted walls; avoid rough brick or heavily textured surfaces. If you’re unsure, test a small area first.
Want a perfect grid the easy way? Try our gallery wall kits: pre‑planned layouts, zero guesswork.
How do I measure and mark like a pro?
Use a simple formula to place the hanger at the right height, then mark your center line and double‑check with a level. For galleries, paper templates help you get spacing right the first time.
The simple formula for nail height (for wired or hook-backed frames)
The shortcut many pros use: nail height equals half the artwork height minus the distance from the top of the frame to the tightened wire or hook, plus your chosen center height (usually 57–60 inches). Here’s how to do it step by step:
- Measure the artwork’s total height and divide by two;
- Measure from the top of the frame down to the wire at tension or the hanging point;
- Subtract that distance from your half‑height number;
- Add 57–60 inches (your eye level center) to get nail height from the floor;
- Mark the center of your wall space, then measure up to the nail height;
- Install the hanger, hang the picture, and check level;
- Step back, and fine‑tune if needed.
The paper template method (great for galleries)
Trace each frame onto paper or cardboard and mark the hanging point. Tape templates to the wall, adjusting by eye until the collection looks balanced around your center line. Replace each template with its frame, and you’ll keep spacing tight and consistent without extra holes.
Pro tips: Photos reveal tilt and height issues you might miss in person: snap one from across the room. Painter’s tape can also preview the bottom edge over furniture, helping you avoid hanging too high on one side.
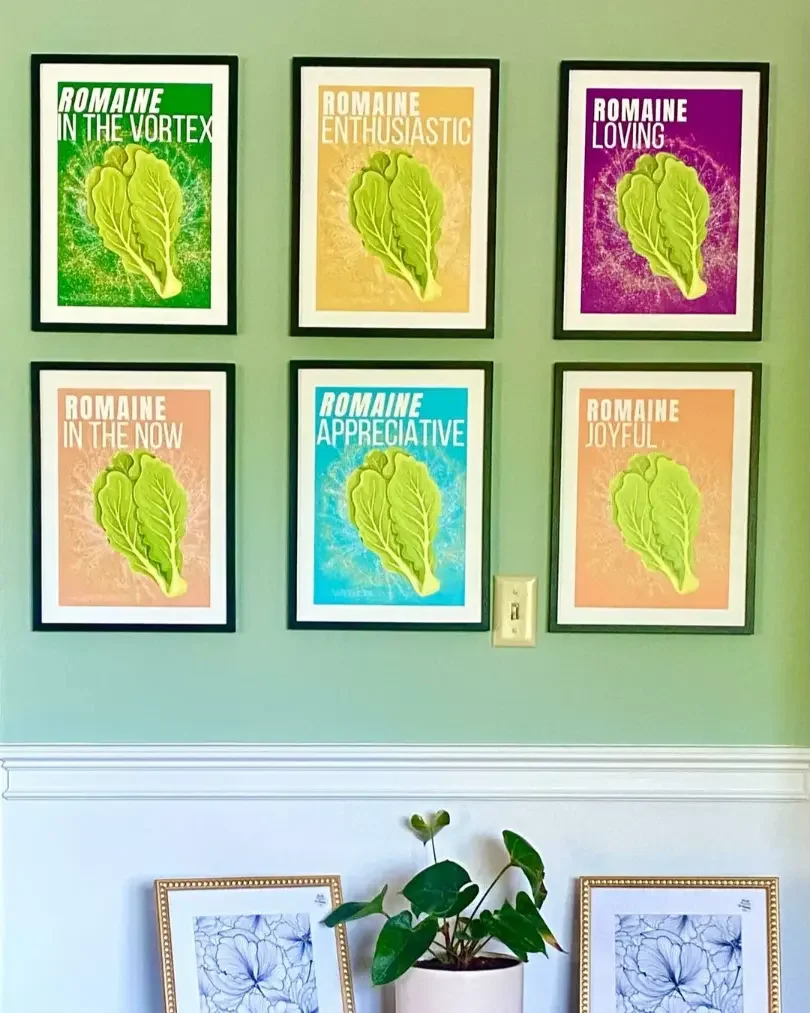
How do I build a straight, balanced gallery wall?
Find the visual center, place your anchor piece at eye level, and build out symmetrically, keeping 3–6 inches between frames so the whole wall reads as one composition.
Start from the center line and build out

Locate the center of the space (not always the entire wall) and hang your first piece there. Add pieces to the left and right, then above and below, maintaining the same spacing. This keeps your collection tidy and level even as it grows over time.
Layouts that always work

A classic grid feels modern and crisp. Prefer an eclectic, salon-style mix? Let the outer boundary echo the wall’s shape and align a few key edges to avoid chaos. Over a sofa or bed, a single row 6–8 inches above the top looks clean and intentional.
Small frames can sit 2–3 inches apart, while medium to large pieces look best with 3–6 inches between them. Consistency is the key to a gallery wall that looks professionally planned.
What common hanging mistakes should I avoid?
Most issues come down to height, scale, and alignment. Fix those, and your wall art will look like it was installed by a pro.
- Too high: Art hung way above eye level disconnects from the room. Drop the center to 57–60 inches, and keep just 6–8 inches above furniture.
- Too small: A tiny piece on a big wall gets lost. Upsize, or group two or more pieces so the collection spans about two‑thirds of the furniture below.
- Disconnected from furniture: A big gap between the top of your furniture and the frame makes the wall feel empty. Bring the art down so the elements work together.
- Crooked or drifting frames: Use a level and consider rubber bumpers, or choose adhesive frames like Mixtiles that stay put without wire or nails.
Can I move or refresh my wall without damage?
Yes: adhesive, repositionable frames let you edit layouts and swap pictures anytime, keeping creativity open and your walls free of holes.
Repositioning with adhesive frames
Lift, place, and re‑stick until alignment is perfect. It’s a fast way to update a gallery wall when new artwork comes into your life or you want to try something different.
Easy seasonal swaps with photo tiles
Rotate family photos, travel shots, or fine art prints through the seasons in minutes. Keep a cohesive look by using consistent sizes and finishes from Mixtiles Photo Tiles, Canvas Prints, and Fine Art Prints; for memory‑keeping beyond the wall, create matching Photo Books.
Hanging art doesn’t have to be intimidating. When you want to know how to hang art on a wall, start with the 57–60 inch eye level, keep 6–8 inches above furniture, match scale to your space, and maintain consistent spacing. Plan, hang, then adjust by eye or photo until it feels just right. No drama, just design.
Build a beautiful gallery wall without nails. Get started with Mixtiles today: peel, stick, and enjoy your perfect wall art.
Frequently Asked Questions
What’s the best way to hang wall art so it stays straight?
Use a picture hook at the right height, then stabilize the bottom corners with removable adhesive strips so frames don’t tilt. Prefer no-holes? Mixtiles peel-and-stick frames hang level in minutes and reposition cleanly. Measure center height, mark the centerline, and use a level.
What does the two-thirds rule mean for art over furniture?
The two-thirds rule says your artwork or grouping should span about 2/3 the width of the furniture beneath it. Example: above a 90-inch sofa, aim for roughly 60 inches of art. If a single piece is too small, combine multiple frames to reach that width.
What is the 57–60 inch eye-level rule?
Galleries anchor art at eye level: position the artwork’s center 57–60 inches from the floor. For gallery walls, center the whole arrangement in that range; over furniture, keep the bottom edge 6–8 inches above the top so the pieces read as one composition.
Should I use nails or screws to hang pictures?
For heavy mirrors and large frames, use screws into a wall stud or pair with proper drywall anchors. For lighter pieces, nails or picture hooks work well. Renting or prefer no holes? Choose adhesive, repositionable frames like Mixtiles that hold securely on smooth painted walls.
Be the first to know — deals, news & decor ideas.
By clicking you agree to the Terms of Use & Privacy Policy