How to Hang Heavy Art on Wall: Safe & Simple Guide
Key Takeaways
- Match artwork weight and wall type to the right picture hanging hardware (studs, toggles, French cleats, or rail systems) to prevent failures;
- On drywall, a stud is best; when you can’t find a stud, use metal molly bolts or toggle bolts rated above your piece of art’s actual weight;
- Brick, concrete, and plaster walls call for masonry anchors or specialty hooks; adhesives are rarely suitable for hanging heavy pictures;
- Want a gallery wall without nails? Choose Mixtiles: adhesive, repositionable, and renter-friendly photo tiles that won’t damage.
Heavy artwork can transform a room; but it also demands the right hardware, placement, and technique. This guide shows you how to hang heavy art on wall types like drywall, plaster, brick, and concrete. You’ll learn how to weigh your art, pick the best way to mount it, and follow a clear step-by-step. If you don’t want holes, we’ll share an easy, no-drill alternative from Mixtiles.
Want high-impact wall art without nails? Create a gallery wall with Mixtiles. They stick, re-stick, and leave your walls clean.
How heavy is your art, really?
Weight determines what you can use to hang your art safely. Weigh your frame or art piece with a bathroom scale (weigh yourself holding it, then subtract), check manufacturer specs for mirrors and frames, and add a safety buffer. The best practice is to choose picture hanging hardware rated 25–50% above the artwork’s actual weight to handle dynamic loads and keep your home safe.
What wall type are you working with?
Wall construction dictates which anchors work. Drywall is common in newer homes; plaster over lath appears in older homes; brick and concrete are visible masonry. Use a stud finder to find a stud on drywall, or a magnet to detect lath nails behind plaster. If you need to find hidden utilities, consider a multi-scanner and avoid drilling near outlets or plumbing runs.
Which hardware safely supports heavy art?
The right hardware depends on both weight and wall. On drywall, hanging heavy pictures into a stud is ideal; without studs, toggles or metal mollies shine. For very heavy pieces, French cleats or a picture rail system distribute load and make leveling easy. Adhesive-only solutions are not the best way for heavy pieces.
Hardware guide by weight and wall type
|
Artwork Weight |
Primary Wall Type |
Best Hardware |
Notes |
|---|---|---|---|
|
Up to 20 lb (≤ 9 kg) |
Drywall |
Plastic anchors or small molly bolts |
Two-point mounting improves level and reduces sway. |
|
20–50 lb (9–23 kg) |
Drywall |
Metal molly bolts, toggle bolts, or screws into stud |
Add 25–50% safety margin over actual weight. |
|
50–100 lb (23–45 kg) |
Drywall/Plaster |
Heavy-duty toggles, French cleats into studs |
Cleats keep things perfectly level and are easy to adjust. |
|
100+ lb (45+ kg) |
Masonry or Studs |
Masonry anchors or multi-stud French cleat/rail |
Consider calling a pro for oversized mirrors or valuable art. |
Drywall hardware by weight range
For light “heavy” pieces up to about 20 lb, small molly bolts can work; from 20–50 lb, select metal molly bolts, toggle bolts, or go straight into a stud with wood screws; above 50 lb, use heavy-duty toggles or a French cleat mounted on studs for secure picture hanging.
Stud-based hanging
Studs offer the strongest mount for hang wall art. Use 2–2.5 inch wood screws through D-rings; pre-drill a pilot hole to prevent splitting; and use two screws for wider frames to keep your art level and stable.
French cleats and rail systems
French cleats interlock two angled bars (one on the wall, one on the frame) spreading load and simplifying leveling. A picture rail lets you hang a painting from hooks and cords mounted high, a classic way to hang pictures without nails in the field of the wall.
When to avoid adhesives
Adhesive hooks and strips are great for light frames but not for hang heavy pictures, especially in humid rooms. They can release over time and are not the best way to hang a heavy art piece.
Love clean walls but like big visuals? Try Mixtiles 16x12 canvas prints or 20x20 canvas prints; wall art you can easily mount without tools.
What tools and prep do you need?
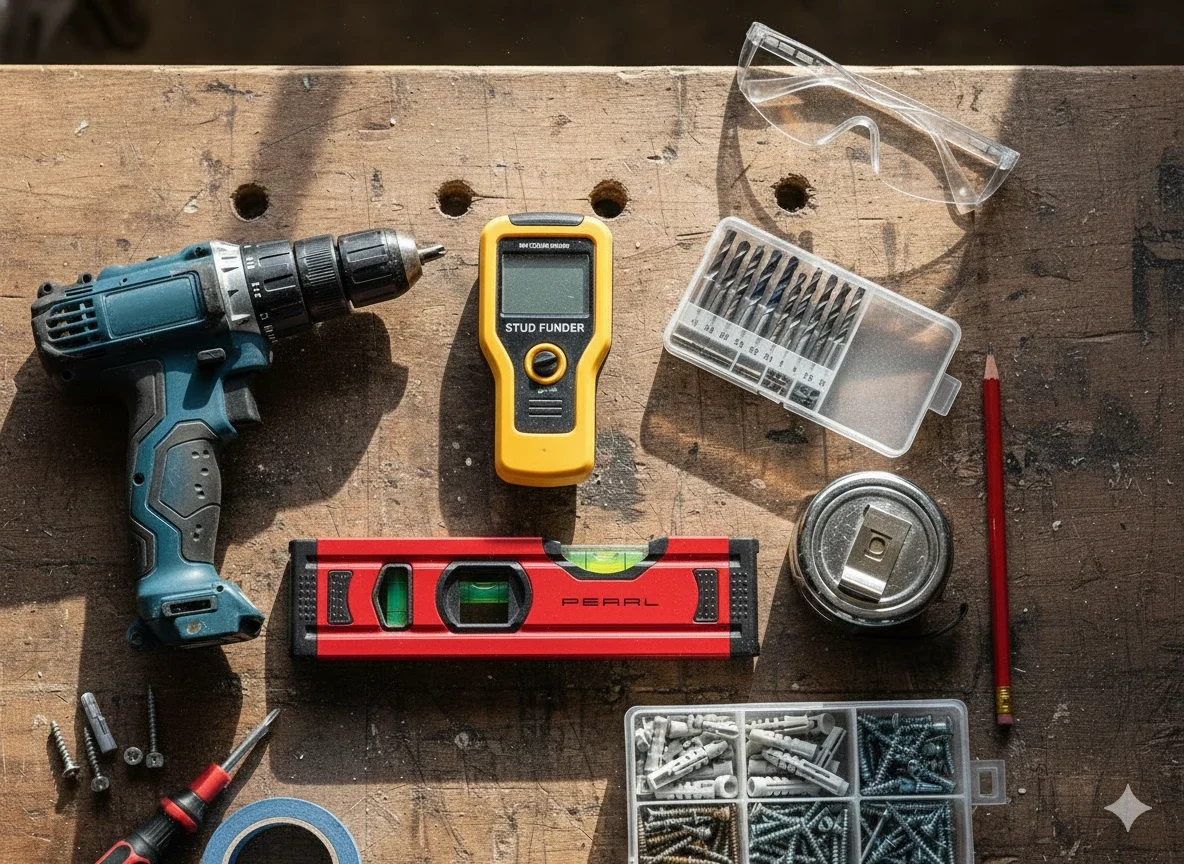
You’ll work faster with:
- A stud finder;
- A level;
- A measuring tape;
- A drill and bits (wood, masonry, or metal as needed);
- A screwdriver;
- Anchors and screws;
- A pencil;
- A painter’s tape;
- Safety glasses.

Mark the centerline and ideal height, verify the weight and hardware ratings, and double-check for wiring or plumbing before drilling so you don’t damage the walls.
How do you hang heavy art on drywall (with and without studs)?
The process is simple: plan your height, locate a stud or select the right drywall anchors, pre-drill, install hardware, and make sure the piece is level before final tightening. Two-point mounting is the best way to keep heavy artwork steady.
- Measure and mark: Find the center of the wall or furniture below, set the artwork center at about 57–60 inches from the floor, and mark the D-ring spacing on the wall with a level.
- Locate a stud or plan anchors: Use a stud finder; if you can’t find a stud where you need it, select toggles or metal mollies rated above the art’s weight.
- Drill pilot holes: Use the correct bit size for wood screws or the anchor’s instructions. Avoid over-drilling so anchors grip properly.
- Install anchors or screws: Set anchors flush to the wall; for toggles, tighten until snug. Drive screws, leaving a few millimeters of head to catch D-rings or wire.
- Hang and verify: Place the frame on both points, step back, and check with a level. Micro-adjust until the picture is perfectly aligned.
- Safety check: Do a gentle pull test. Re-check screws after 24 hours: hardware can settle slightly once the piece is mounted.
What about brick, concrete, or plaster walls?
Masonry needs specialized anchors and bits; plaster prefers toggles or rail hooks that engage the lath. Each wall type has a reliable way to hang with the right prep.
Brick/concrete
Use a masonry bit and sleeve anchors or concrete screws (e.g., Tapcons). Vacuum dust from the hole, drill to the proper depth, insert the anchor, and tighten until secure without cracking the surface.
Plaster over lath
Pre-drill to prevent crumbling and use toggle bolts or specialty hooks that bear on the lath, not just plaster. If your home has a picture rail, that’s a beautiful, low-damage method to hang pictures.
Picture rails (older homes)
Hook onto the rail and drop decorative cords to the D-rings. It’s adjustable, classic, and a great way to hang pictures without nails through the wall surface.
How high should you hang heavy art, and how do you plan your layout?
Aim for museum height and align to nearby furniture. Plan the layout on the wall before drilling so your picture hanging work goes smoothly.
Ideal height and spacing
Place the art center around 57–60 inches from the floor, or align the bottom 6–8 inches above a sofa. Keep consistent side margins and equal spacing between pieces in a gallery.
Layout tricks
Use painter’s tape or paper templates to visualize the arrangement and mark hardware points. Level everything before you drill to make sure your hang art outcome is perfect the first time.
What common mistakes should you avoid?
Before you mount, keep these tips for hanging in mind:
- Skipping studs or using light plastic drywall anchors for 20+ lb art will lead to failures;
- Hanging wide frames from a single point causes tilt and stress; use two points;
- Winging it on bit size or pilot holes can strip anchors or crack plaster; follow specs;
- Relying on adhesives for heavy mirrors or a large piece of art risks a fall in humid rooms.
Can renters hang heavy art without wrecking walls?
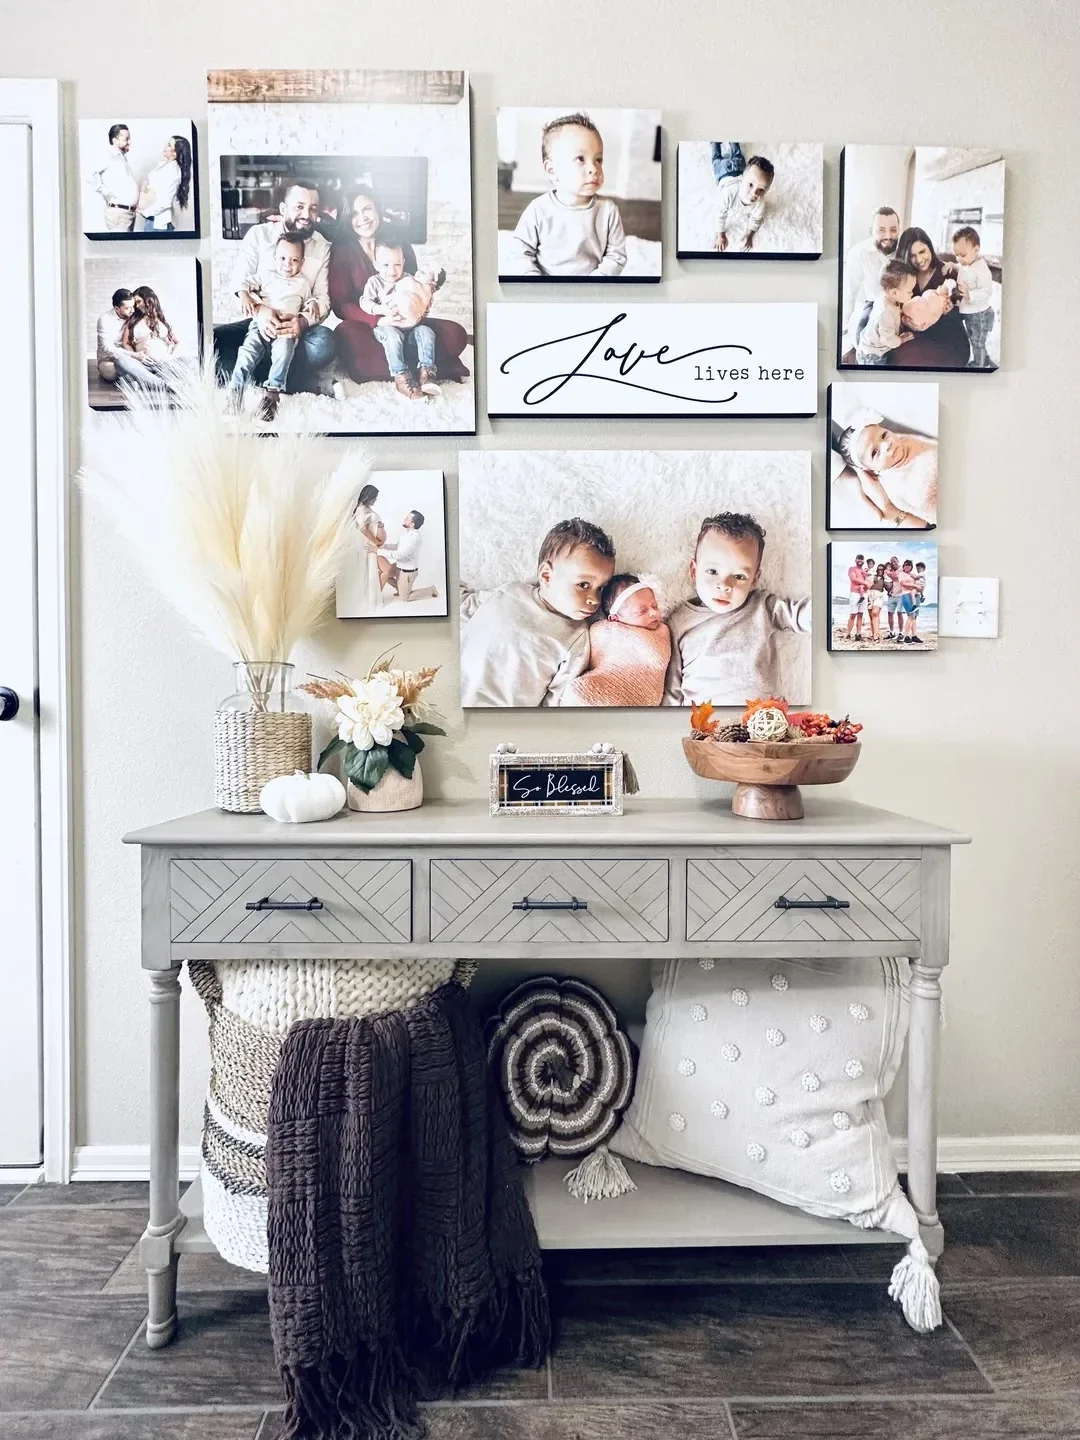
If you don’t want holes, lean large frames on consoles or mantles, use a standing easel, or hang from a picture rail where available. Press-in hooks (often called Monkey/Super/Hercules Hooks) can be used to hang a heavy picture with tiny holes; always check your lease. For a gallery wall you can easily update without nails, Mixtiles picture tiles are made to stick and re-stick. Perfect when you want wall art that won’t damage the walls!
When should you call a pro?
Call a professional for oversized or 100+ lb pieces, stone walls, or valuable artwork that needs specialized picture hanging. If you’re asking “Can I hang this safely here?” and you’re unsure, bringing in a pro is the safest way to protect both the piece and your walls.
Learning how to hang heavy art on wall types across your home comes down to matching weight, wall, and hardware (studs, toggles, French cleats, or a picture rail) then following a measured process. If you want the impact of wall art without nails, Mixtiles offers a flexible, beautiful alternative.
Ready for stunning walls without tools? Design and order Mixtiles photo tiles today. Stick, swap, and style your space in minutes.
Frequently Asked Questions
How do I hang very heavy artwork safely?
Start by weighing the piece, then plan a two-point mount. Whenever possible, drive screws into studs. If studs don’t align, use heavy-duty toggles or a French cleat that spans studs. Pre-drill, level, and choose hardware rated 25–50% above the artwork’s weight.
What hardware works best for heavy items on the wall?
Into studs: 2–2.5 in wood screws through D-rings. Drywall without studs: metal toggle bolts or heavy-duty molly bolts. For 50+ lb or wide frames: a French cleat spanning studs. Masonry: sleeve anchors or concrete screws. Avoid adhesives for heavy pieces.
How heavy is too heavy to hang on drywall?
With the right anchors, drywall can support up to about 100 lb using toggles; a simple nail in a stud is closer to 20 lb. For oversized, 100+ lb, or valuable pieces, use multi-stud cleats or hire a pro. Always follow hardware weight ratings.
What is the 2/3 rule for wall art?
The 2/3 rule suggests your art should be roughly two-thirds the width of the furniture beneath it. Hang the center around 57–60 inches from the floor for a balanced, gallery-height look.


Be the first to know — deals, news & decor ideas.
By clicking you agree to the Terms of Use & Privacy Policy
