
Photo Wall Ideas Without Frames: Creative & Easy Tips
Key Takeaways
- Discover practical, renter-friendly photo wall ideas without frames using clips, tape, ledges, grids, and borderless tiles;
- Plan your layout with a theme, consistent spacing, and a mockup to keep it polished and cohesive;
- Hang photos without wall damage using removable adhesives, washi tape, and lightweight display systems;
- Create a frameless, gallery-worthy look fast with Mixtiles borderless, peel-and-stick photo tiles, no nails or tools.
Looking for photo wall ideas without frames that still look elevated? You are not alone. From washi tape grids and string light displays to pegboards and borderless photo tiles, there are many creative ways to showcase pictures without heavy frames. This guide shares renter-safe techniques, quick layout tips, and pro advice to design a small collage or a full photo gallery wall at home. If you want a clean grid or an artsy board-style mix, you will find simple steps to make it work.
Want a classic, frameless look? Explore our beautiful canvas prints. They arrive ready to hang, giving your wall a sophisticated, gallery-style finish without the fuss of frames.
What are the easiest photo wall ideas without frames to try first?
You can get a polished display fast by pairing lightweight prints with gentle adhesives or choosing tiles that hang without tools.
Washi-tape grids or borders
Use washi or painter’s tape to outline clean rectangles or a geometric grid for a minimalist, art-forward style.
Bulldog or binder clips with adhesive hooks
Clip photos and hang on micro hooks so you can swap pictures any time and keep the layout fresh.
String lights with mini clothespins
Line up prints along warm lights for a fun, soft-glow display that feels like your favorite pins come to life.
Photo ledges and shelves
Lean unframed photos on slim ledges for an easy gallery wall you can change in seconds.
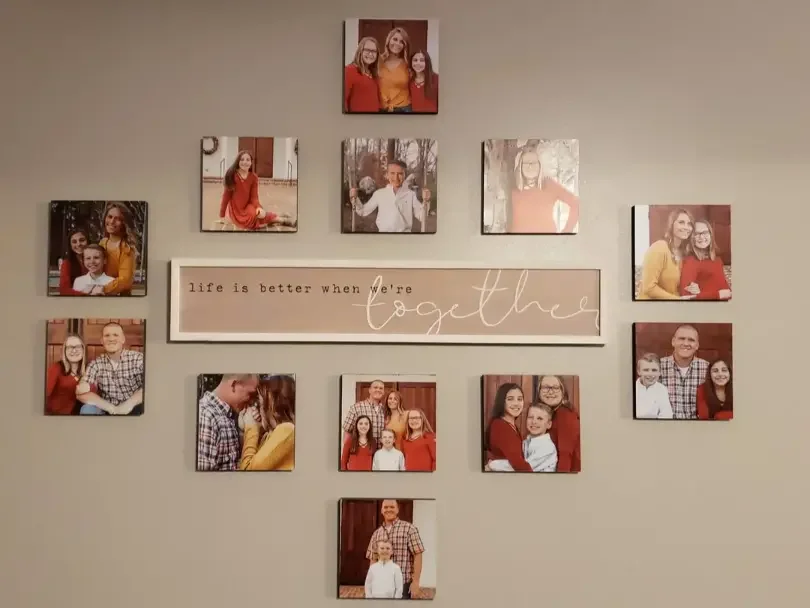
Oversized collage mural
Overlap large prints using removable strips to create an editorial, wall-filling collage.
Wire grid or pegboard
Clip photos, postcards, and small art on a modular grid for a unique, creative board that adapts to your needs.
Pant or skirt hangers
Hang big prints with wooden hangers for a modern, framed-but-not-framed look.
Canvas or foam-core mounting
Mounting your photos to canvas on lightweight boards is a great way to get a frameless gallery finish without glass.
Borderless photo tiles
Choose Mixtiles Edge for a sleek, magnetic or adhesive tile you can stick, straighten, and restick without tools. New to this format? Learn what photo tiles are and how they work.
How do you hang photos without damaging your walls?
Pick renter-safe methods and follow clean removal steps, and your paint will stay pristine.
Renter-safe hanging methods
Use removable strips, washi tape, painter’s tape, adhesive putty, or micro adhesive hooks. Mixtiles tiles use stick-and-restick adhesive or a magnet system that is gentle on walls, and you can follow this step-by-step guide on how to hang photo tiles.
Pro tip: Test first
Test a small hidden spot to confirm your paint or finish releases cleanly.
Removal made easy
Pull tabs slowly at a low angle. If needed, warm tape with a hairdryer for a residue-free lift.
How can you plan a frame-free layout that still looks polished?
Choose a simple theme, map it on the floor, then keep spacing consistent for a gallery-level result.
Choose a theme and palette
Try black and white travel photos, family milestones, or one accent color to unify the design.
Map it before you mount it
Arrange photos on the floor or use paper templates on the wall to preview rhythm and balance. If you are planning a tile grid, this tutorial on how to hang a tile art wall walks you through alignment and spacing.
Spacing that works
|
Print size |
Gap in inches |
Gap in cm |
|---|---|---|
|
Small, up to 8 × 8 |
1–2 |
2.5–5 |
|
Medium, 12 × 12 to 12 × 16 |
2–3 |
5–7.5 |
|
Large, 20 × 20 and up |
3–4 |
7.5–10 |
Balance and rhythm
Keep the visual center at eye level. Use odd-number groupings for energy and a curated gallery wall feel.
Design a frameless gallery the easy way. Upload your photos and choose our signature photo tiles. Just peel and stick in minutes for a damage-free display.
Can you mix frameless photos with a few framed pieces?
Yes, a hybrid picture display adds depth while keeping a light, modern style.
Hybrid, curated looks

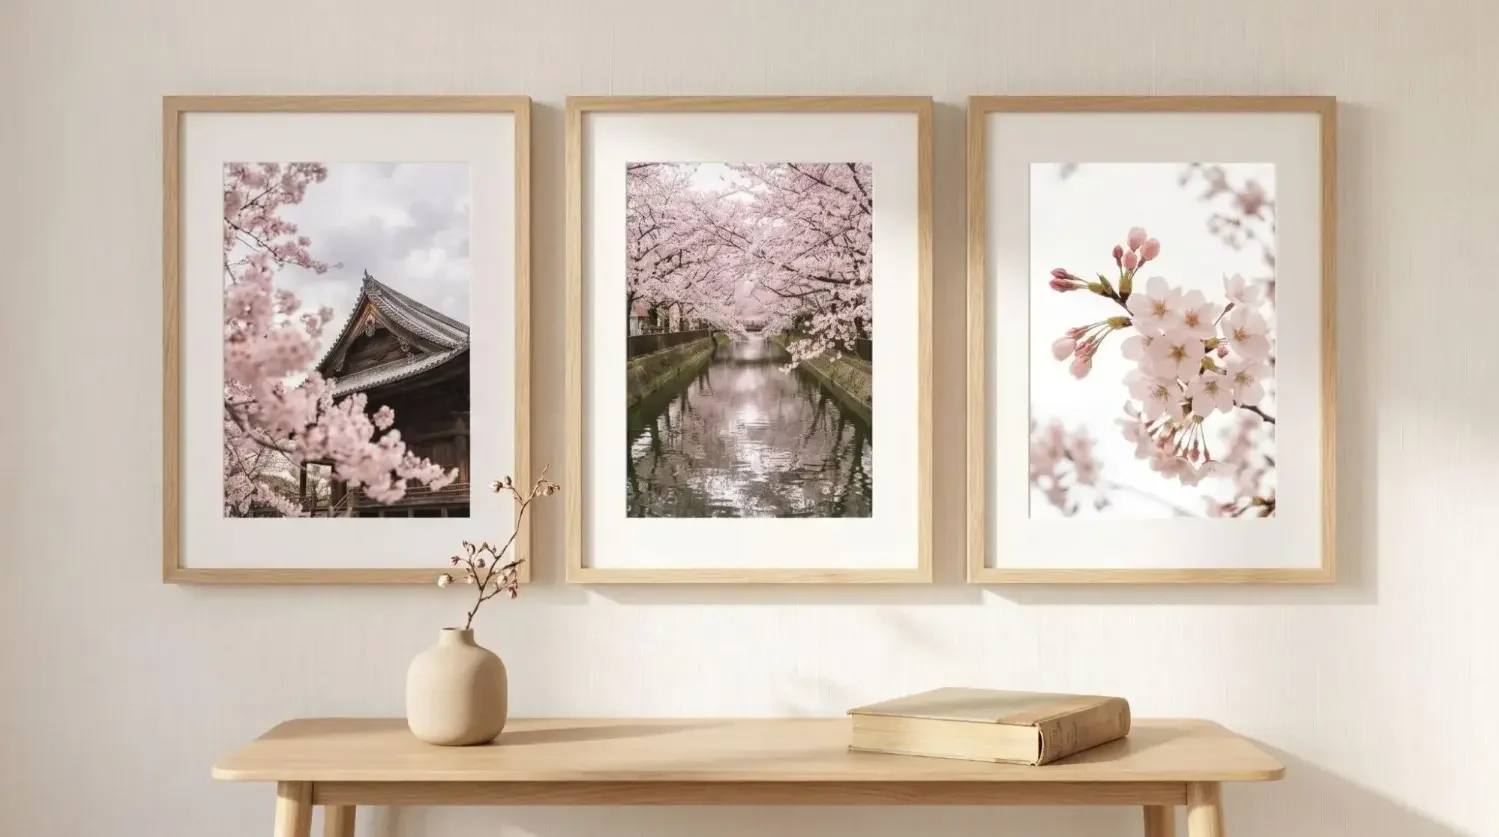
Layer a few thin frames among mostly frameless prints so the wall stays airy while still feeling intentional.
Keep cohesion

Match margins, colors, or spacing so everything looks like one design story.
Where do frame-free photo walls look best?
They shine where you want flexibility and speed.
High-impact, low-commitment zones
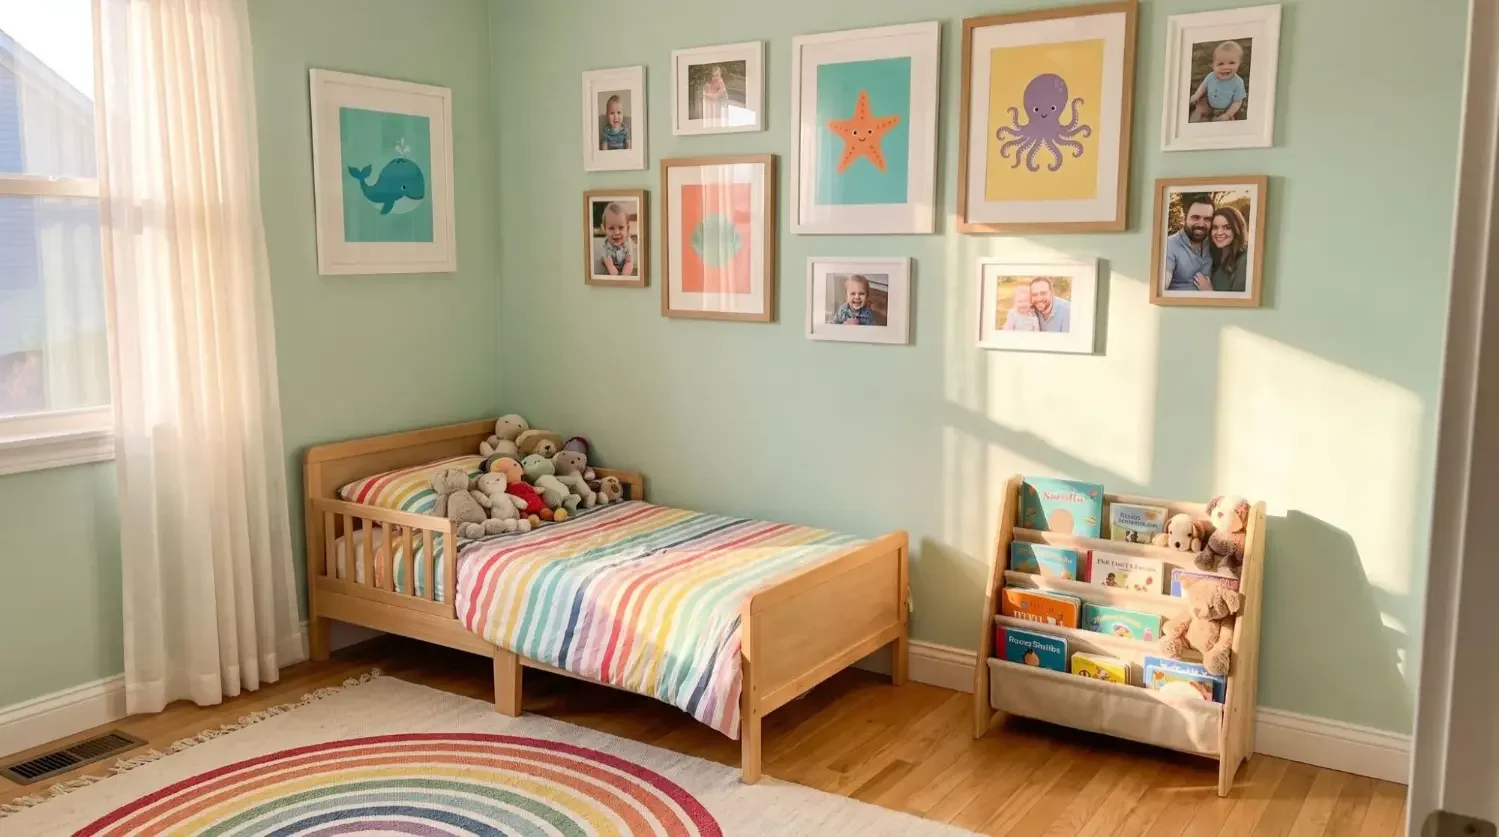
Try rentals, dorms, kids’ rooms, a home office, hallways, or stairwells for quick, fun updates that just work.
You do not need heavy frames to build a gallery-worthy wall. With gentle adhesives, smart planning, and creative ideas, you can make an artful collage that is easy to update. For the fastest, cleanest result, try Mixtiles borderless, repositionable tiles and our Gallery Wall Kits to keep spacing perfect.
Ready to go frame-free? Build your dream gallery wall with our easy-to-use tools. Get inspired and start creating today on the app or website.
Frequently Asked Questions
How can I display photos on a wall without frames?
Try washi tape, removable strips, or adhesive putty for small prints. Clip photos to micro hooks, string lights, wire grids, or pegboards for easy swaps. Use slim photo ledges for leaning displays. For a polished, damage-free finish fast, choose peel-and-stick photo tiles like Mixtiles Edge.
What is the two-thirds rule for hanging art above furniture?
Hang art that is about two-thirds the width of the furniture piece below, like a sofa or console. Center it, keep the bottom 6 to 10 inches above the top of the furniture, and treat gallery walls as one visual unit.
What can I put on my walls besides photos?
Try mirrors, tapestries, woven baskets, wall decals, floating shelves with books or objects, clocks, hats, guitars, dried florals, or hanging plants. Pegboards or wire grids add storage and display, while vinyl records or fabric panels introduce color and texture without committing to frames.
Be the first to know — deals, news & decor ideas.
By clicking you agree to the Terms of Use & Privacy Policy