
Hallway Gallery Wall Ideas: Transform Your Space Today
Key Takeaways
- Plan for eye-level sightlines, consistent spacing, and traffic flow in your hallway;
- Pick a clear gallery wall layout and keep frames cohesive in color or style;
- Mock up before hanging; aim for 2–3 inches between picture frames and a 57–60 inch centerline;
- Use Mixtiles adhesive, repositionable frames for fast, damage-free hanging and easy tweaks.
Hallways are high traffic and often narrow, which makes them perfect for streamlined walls that tell your story. The best hallway gallery wall ideas balance impact with function. Start by planning sightlines, spacing, and a layout that fits your wall length. Then choose frames that feel cohesive across your home decor, from the entryway to the living room and bedroom. With Mixtiles photo tiles, you can stick, restick, and update your gallery in minutes, with no holes and no stress.
Create your hallway gallery with our easy-to-hang photo tiles. Upload your photos today for fast, damage-free decorating.
How do you plan a gallery wall for a long or narrow hallway?
Measure your wall length, ceiling height, and note doors, switches, and the thermostat. Decide the main sightline first; for most rooms, keep the center of your gallery at 57–60 inches. Balance the wall layout with lighting, so downlights highlight art rather than blank spaces.
For decor cohesion, pick a theme you love: family photos, travel art, black and white prints, or one color palette. Leave breathing room near corners and door swings so framed pieces do not feel crowded.
Which hallway gallery wall layout should you pick?
Choose one approach and commit. A simple, repeatable gallery wall layout creates flow in a corridor and keeps the space feeling open and calm.
Single centerline, clean and modern

Run one line of frames down the wall at eye level. Mix vertical and horizontal photos while keeping that central rail consistent for a polished gallery.
Double rail, balanced but lively

Create two parallel lines, one above and one below the sightline. Maintain equal gaps between rails to add energy without clutter.
Grid sets, crisp and symmetrical

Use 2x3, 3x3, or 3x4 tiles. Grids work near doorways and sconces, where tidy edges make the space feel intentional.
Salon-style mix, collected and personal

Cluster different sizes inside a soft rectangle with a defined top and bottom. Keep spacing consistent and frames cohesive.
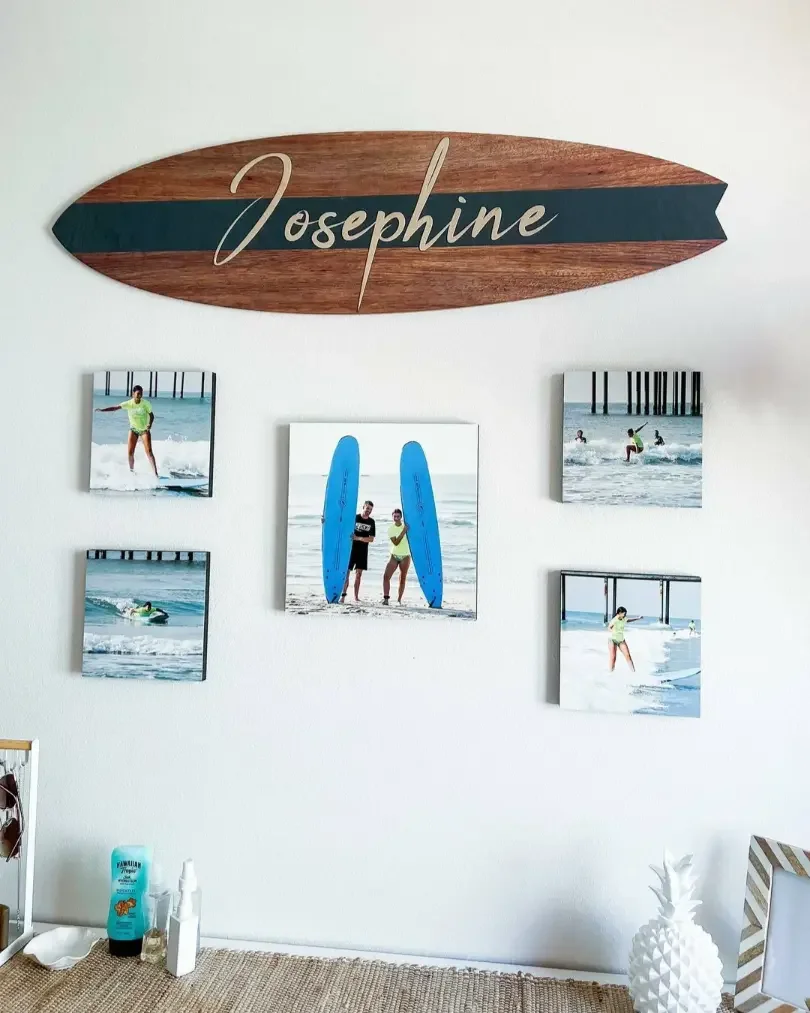
End-wall anchor

Place a large picture at the hallway’s end. Build smaller frames toward it for a strong focal point that guides the eye.
How much spacing and what sizes work best in a hallway?
In narrow spaces, 2–3 inches between frames feels airy. Avoid tiny frames on very long walls. Mix medium and large pieces so the gallery reads as one design rather than many small parts. For quick decisions, use this size reference for gallery walls with Mixtiles.
|
Advertised Size |
Actual Size (inches) |
Actual Size (cm) |
Best Hallway Use
|
|---|---|---|---|
|
8 × 8 |
8.4 × 8.4 |
21.35 × 21.35 |
Tight corridors; single centerline or small grid moments. |
|
12 × 16 |
12.44 × 16.44 |
31.6 × 41.75 |
Mixed layouts; double rail or salon-style with 2–3 inch gaps. |
|
20 × 27 |
19.5 × 27 |
49.53 × 68.58 |
End-wall anchor; pairs well with medium tiles along the run. |
For a deeper dive into measurements by room and layout, see our gallery wall dimensions guide.
Try our beautiful canvas prints or explore pre-curated gallery walls. Design and preview your layout before hanging.
What’s the ideal hanging height for hallway photos?
Keep the visual center at 57–60 inches for most adults. In a double rail, place the midpoint at eye level, then mirror equal distances above and below. With tall ceilings, set a clear top boundary so the gallery looks unified. With low ceilings, do not climb too high. Keep your gallery wall comfortable and grounded.
How do you mock up and avoid crooked lines?
Do a quick dry run first. These steps help you start strong and save time while hanging a gallery.
- Mark a centerline with painter’s tape and a level;
- Cut paper templates to your frame sizes and tape them up;
- Adjust spacing until the flow feels natural, then lightly pencil marks;
- Place Mixtiles, step back, and restick any picture that needs refinement.
Can renters and indecisive decorators build a gallery wall without damage?
Yes! Mixtiles use stick-and-restick adhesive or magnets for clean removal. They are lightweight, so they are safe in high traffic entryway spaces and along long walls. You can swap wall arts by season, rotate family photos, or move pieces to the dining room or living room without repairs. Wipe walls dry before mounting for the best hold.
What photo themes look best in a hallway?
Pick one mood for the entire gallery. A simple theme unifies different sizes and keeps your interior design cohesive from room to room.
Family timeline
Walk through milestones in order. Mix candid moments and framed school photos for warm wall decor that feels personal.
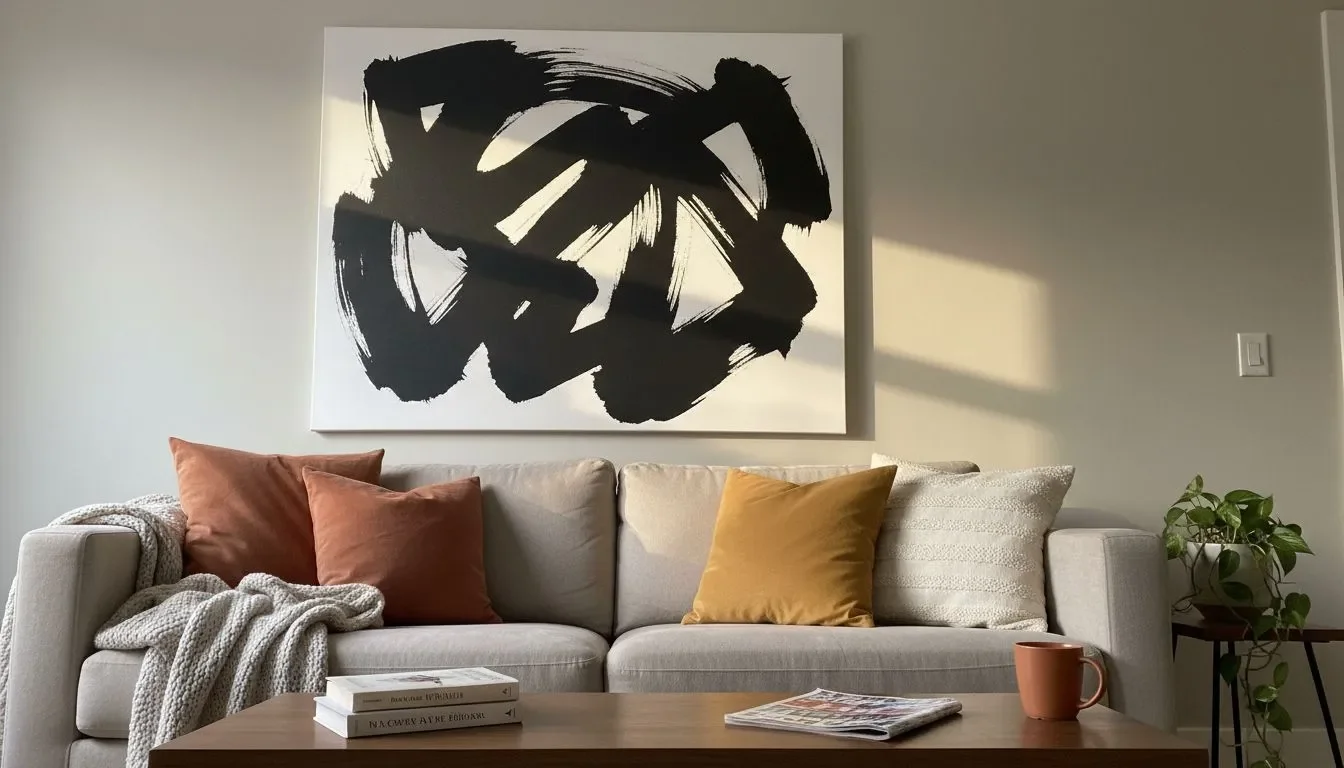
Black and white cohesion
Use monochrome prints to tie different subjects together. This gives clean contrast and modern home decor style.
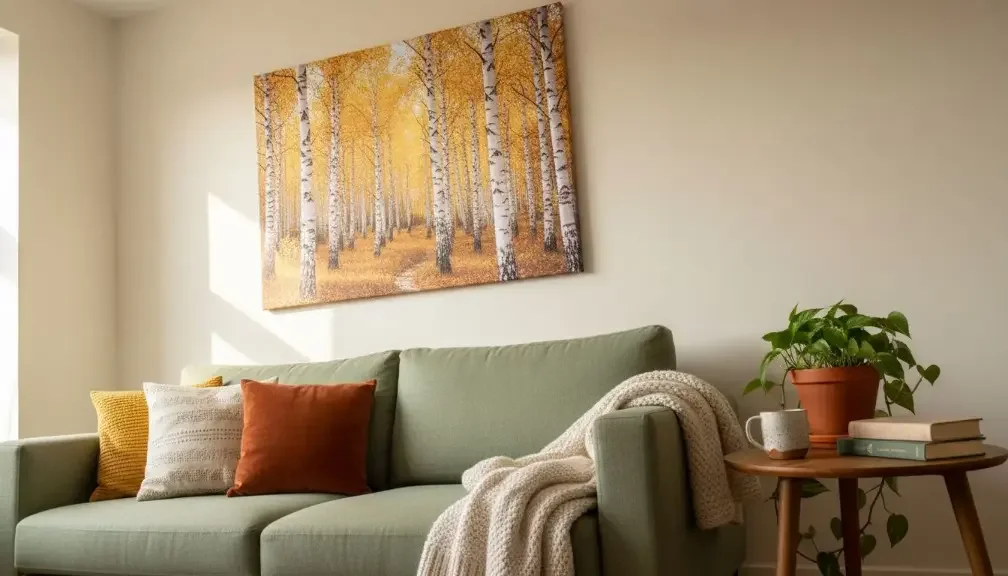
Travel windows
Combine landscapes, city frames, and detail shots, similar to curating a travel photo book. Keep one frame color so the gallery reads as one piece.
Kids’ rotating gallery
Feature artwork and photo prints that you update often. Mixtiles make refreshes simple and fun.
Quick final checklist to get it right the first time
Before you hang, confirm these essentials so your wall ideas translate perfectly in your space.
- Measure the wall and set a 57–60 inch centerline;
- Choose one layout style and keep spacing at 2–3 inches;
- Select cohesive frames or mats for unity across pieces;
- Mock up with tape or paper, then place tiles;
- Order Mixtiles Gallery Wall Sets or individual tiles and enjoy easy hanging.
Great hallway gallery wall ideas are simple to plan and quick to execute. Pick a layout, set your sightline, and curate photos you love. Mixtiles frames let you print, place, and perfect your gallery wall layout without tools. Update your walls anytime, from the entryway to the bedroom, with art that makes your home feel alive.
Ready to design your perfect photo gallery wall? Start your Mixtiles order and transform your hallway in minutes.
Frequently Asked Questions
Are hallway gallery walls still in style for 2026?
Yes, hallway gallery walls remain popular in 2026. The look is more curated, with simple grids, tidy rails, or a focused salon mix. Cohesive frames and consistent spacing keep narrow spaces calm. Adhesive, repositionable frames like Mixtiles make updates easy.
What trends are replacing traditional gallery walls?
Nothing fully replaces them. The trend is evolution, not replacement. In hallways, you will see streamlined rows, balanced double rails, or a single large anchor paired with smaller pieces. Mixed media, like canvases and photo tiles, keeps the look fresh and flexible.
What are the key rules for a hallway gallery wall?
Set the visual center at 57 to 60 inches, keep 2 to 3 inches between frames, and commit to one layout. Align centerlines for mixed sizes, leave clearance near doors, and mock up with painter's tape before placing adjustable tiles like Mixtiles.
What are inexpensive hallway art ideas?
Print favorite phone photos, use black and white for cohesion, and mix postcards or kids art with a few larger pieces. Thrift frames or reuse mats to save. Adhesive photo tiles, like Mixtiles, avoid tools and repairs, and curated sets reduce planning time.
Be the first to know — deals, news & decor ideas.
By clicking you agree to the Terms of Use & Privacy Policy